1
Deployment on an External Database
(RDBMS)
•
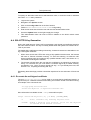
Create and initialize the new database.
•
Load the backed-up data into the new database.
•
Restart the application.
These steps are discussed in detail below.
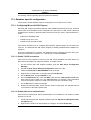
This chapter also includes some sections that describe database specific configuration.
See Section 17.3, “Database specific configuration” for more details.
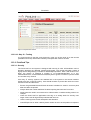
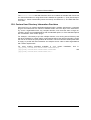
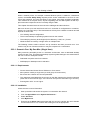
17.2.1. Step 1 - Stop Print-Limit Pro
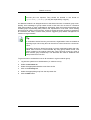
To upsize to an external database the application server should be stopped. This allows
the data to be backed up, guaranteeing that all data is saved and ready to load into the
new database.
The instructions to stop the application server can be found in Section A.6, “Stopping and
Starting the Application Server”.
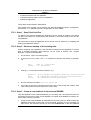
17.2.2. Step 2 - Perform a backup of the existing data
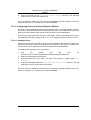
Perform a backup of the database. This data will be loaded into the application in a future
step. A detailed discussion about backups can be found in Section 12.4, “System
Backups”. To backup the database:
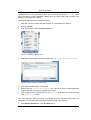
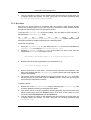
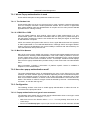
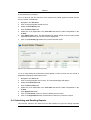
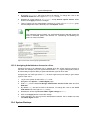
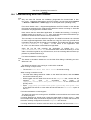
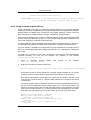
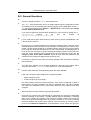
1.
On the server, open a command prompt.
2.
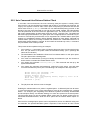
If running on Linux or Mac, use su or equivalent to become the identity of printlimit.
e.g.
Mac:
Linux:
3.
sudo su - printlimit
su - printlimit
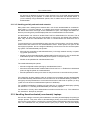
Change (cd) to the server binaries directory. e.g.
Windows:
Mac:
Linux:
cd "C:\Program Files\Print-Limit Pro\server\bin\win"
cd "/Applications/Print-Limit Pro/server/bin/mac"
cd ~printlimit/server/bin/linux-*
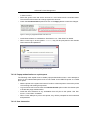
4.
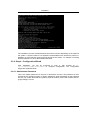
Run the following command: db-tools export-db
5.
The output of the above command shows the name of the backup file created. Take
note of this because it will be required in a future step.
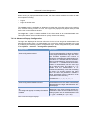
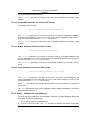
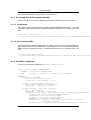
17.2.3. Step 3 - Create a new database in the external RDBMS
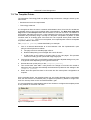
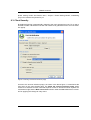
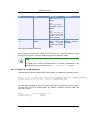
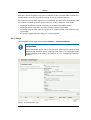
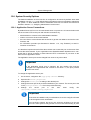
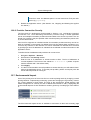
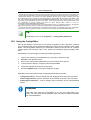
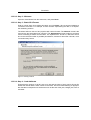
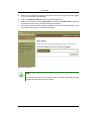
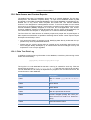
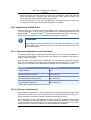
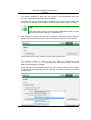
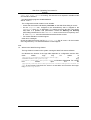
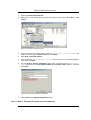
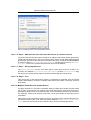
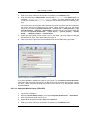
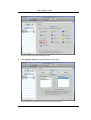
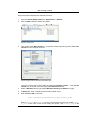
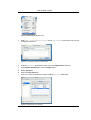
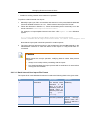
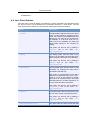
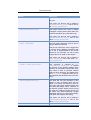
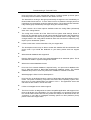
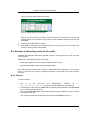
This step depends on the external database you are using, and it is assumed that the administrator knows how to create a new database. No matter what database is used the following steps must be performed:
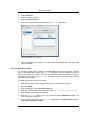
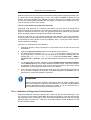
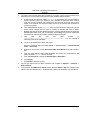
1.
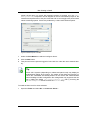
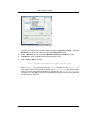
Create a new empty database for dedicated use by Print-Limit Pro. When creating the
database make sure to select the correct character encoding for your language. For
SQL Server, the character encoding is set in the Collation field on the new database
242