1
Chapter 6: Peripheral Devices & Accessories
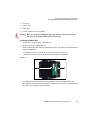
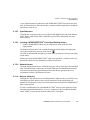
The Trigger Back Plate Kit with Flush Mount Pistol Grip
2. Screws (6)
3. Kapton Tape
4. Back Plate
5. Pistol Grip Kit (4 screws included)
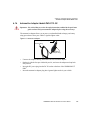
Warning: Back up any data in RAM before you begin; data are erased when the internal power of the WORKABOUT PRO3 is turned off.
Installing the Back Plate
•
•
•
•
•
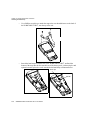
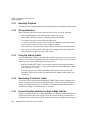
If your unit is using AC power, disconnect it.
Remove the stylus from the end-cap.
Remove the battery pack. Switch off the internal power – the switch is located inside the
battery compartment.
Loosen the four screws securing the end-cap, and remove the end-cap.
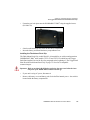
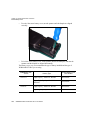
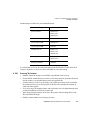
Unlatch the two connectors on the interface board on the new back plate.
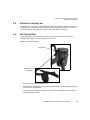
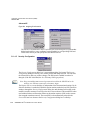
Figure 6.1
J1
•
•
J2
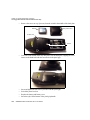
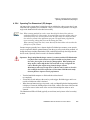
Position the lower end of the new back plate next to the back opening of the unit.
Insert the flex cable from the end-cap into J2 on the interface board. The contacts on the
flex cable face towards the interface board.
WORKABOUT PRO3 with Windows CE 5.0 User Manual
177