1
English
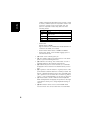
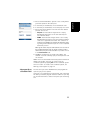
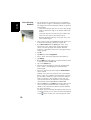
• On the GNSS tab, make sure the “Internal” GNSS receiver
is selected. Ignore the Port field.
• Tap on the Antenna tab,
• Enter the antenna height you have just measured and
select “Slant”, corresponding to the measurement
method used.
• Select the antenna type used.
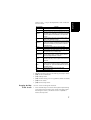
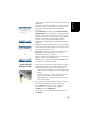
• On the Recording tab, make sure the Record raw data for
post-processing function is enabled, check that the storage
medium used to store the collected data is the one you
really want to use (it is a good practice to use a Storage
Card) and choose the recording interval (default: 1
second). To change the storage medium, see also
Changing the Storage Medium for Raw Data Collection on
page 39.
• Tap OK to complete the rover configuration step. Tap OK
again to return to the map screen.
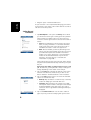
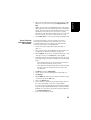
• Tap Log. In the Site ID field, type the name of the surveyed
point. Optionally, add a point description in the field
underneath. This may be one of the feature codes you
defined earlier.
On the Antenna tab, you may also check the antenna
height and type entered previously and make last-minute
changes.
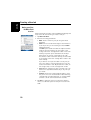
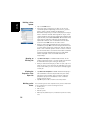
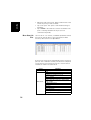
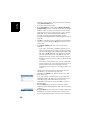
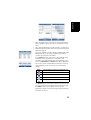
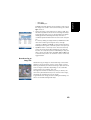
• Tap OK to start collecting data on the point. The screen
now shows the following:
– The name of the Site ID being surveyed.
– The number of satellites for which raw data are
collected.
– The current value of PDOP.
– The time elapsed since the beginning of the data
collection.
– Range Achieved: An estimation of the maximum
baseline length, based on GPS L1 only and not the
currently selected tracking mode, and deduced from
the current amount of collected data for which
centimeter-accurate determination of the point
position will be guaranteed through post-processing.
The baseline length represents the distance between
the base used during post-processing and your rover.
20