1
Quick Installation Guide
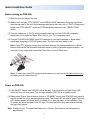
Before turning on PHD-200:
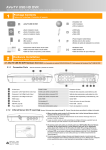
(1) Open the box and inspect the unit.
(2) Make sure to set your “DTV SELECT” and “RESOLUTION” switches to the proper positions
from the rear side of the unit. Recommended settings to start with: set to Y-Pb-Pr (Component)
output from “DTV SELECT” switch and 1080i as display resolution from “RESOLUTION”
switch.
(3) Connect component (Y-Pb-Pr) cable included inside the box from PHD-200 component
connectors (color coded as Green, Blue, Red) to your TV’s component input.
(4) Connect PHD-200 AIR/CABLE Input RF connector to over-the-air antenna or digital cable
signal feed. And plug in PHD-200 power cable. The unit is set and ready to use.
Note: If your DTV signal is coming from an indoor antenna, the recommended one is Silver
Sensor Antenna like the illustration indicated below in order to get better signal reception. You
can order it from major retail stores like Circuit City or from ePVision.com.
Note: To check your local DTV programs and stations, you can log on http://www.titantv.com
and enter your zip code to find out.
Power on PHD-200:
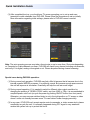
(1) Push ON/OFF button from PHD-200 unit all the way. You should see red light Power LED
turned on from unit front panel. This red light indicates PHD-200 is in standby mode.
(2) Either press “Power” key on remote control or “STANDBY” button from PHD-200 front panel to
turn on and set the unit in normal operation mode. The Power LED will turn to “green” light and
LED display readout will show “boot” to indicate it is in boot-up stage. In the meantime, your
TV screen will show and flash PHD-200 logo. This boot-up period may take several seconds
and up to half minute.
Note: During boot-up, TV screen may flash one or 2 times. This is due to internal resolution
adjustments.
-1-