1
3c
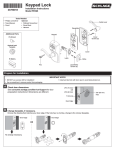
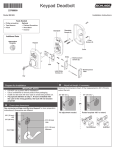
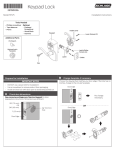
Install the bolt into the door.
4b Install the Support Plate on the inside of the door.
important!
Retract the bolt before continuing to step 3c!
LL Make sure the Touchscreen and Support Plate are straight on the
door before tightening the screws. Tighten screws fully to prevent
the lock from moving over time.
Choose the picture below that matches your door.
FIgure A: Mortise
Figure B: No Mortise
Make
sure the
word
TOP
faces up
when
installing
the bolt.
OR
Actual Size (2)
P
TO
Have someone hold the Touchscreen
on the outside of the door while you
tighten the screws.
Make sure the indented circle is
facing the door.
Actual Size (2)
Route the cable
through the slot.
Use a block of wood
and a hammer (not
included) to tap the
bolt into place. You
don’t need to use the
screws.
5
5a
Install the Inside Assembly
Remove the battery cover from the Inside Assembly.
Electrostatic
Discharge Warning!
3d Install the strike into the frame.
Avoid contact with the
circuit board!
Install all the parts shown for maximum security.
LL In order to maintain BHMA Grade 2, you must install the included
reinforcement plate and strike.
LL The reinforcement screws may not fit on doors with sidelights.
Door Stop
Make sure
this hole is at
least 1” (25
mm) deep.
Actual Size (2)
LL Do not remove the battery tray (not shown).
5b Connect the cable to the Inside Assembly.
LL Locate the screws in step 5d before beginning this step so they will
be handy when you need them.
Reinforcement Screws: Actual Size (2)
The connector fits only one
way. Match the dot on the
connector with the dot on the
circuit board.
4
Install the Touchscreen Assembly
4a Install the Touchscreen on the outside of the door.
LL The clips snap into the crossbore (see step 2) to assist in holding
the keypad on the door.
LL The Touchscreen Assembly should install smoothly. If it does not,
check that the bolt is set to the correct backset (see step 2).
Clips snap into
the crossbore.
Route the cable
under the bolt.
5c
Install the Inside Assembly.
1. Align the tab with the notch as shown.
2. Route the cable into the channel.
3. Then slide the Inside Assembly towards the door.
Route the cable into the channel to avoid crimping the cable.
Align the tab
with the notch.
LL NOTE: If you have a crossbore (see step 2) that is slightly less
than 2Z\,” (54 mm), the lock may not install smoothly. You can
remove the spacer. Always remove the spacer for a 1Z\x” (38 mm)
crossbore.
Align tab
with notch.