1
Hydraulic System
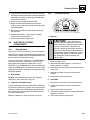
d. Main Control Valve Parts Inspection
Inspect all parts and internal passageways for wear,
damage, etc. If inner surfaces of any component DO NOT
display an ultra-smooth, polished finish, or are damaged
in any way, replace the damaged part. Often, dirty
hydraulic fluid causes failure of internal seals, damage to
the polished surfaces within the component, and wear of
and/or harm to other parts.
e. Main Control Valve Assembly
Note: ALWAYS replace seals, o-rings, gaskets, etc.,
with new parts to help ensure proper sealing and
operation. Lubricate seals and o-rings with clean
hydraulic oil.
Assemble each Valve Section
1. Reassemble any check valves, compensator valves,
anti-cavitation valves or shock valves from individual
valve sections if equipped.
2. Install the control spool being careful not to nick or
scratch the valve section bore or the control spool.
3. Install the end caps on each end of the valve section.
Assemble the Main Control Valve
4. Use new oiled o-rings as required. Uncap and
reattach and secure all hoses, clamps, etc. to the
main control valve.
5. Check the routing of all hoses, wiring and tubing for
sharp bends or interference with any rotating
members, and install tie wraps and/or protective
conduit as required. Tighten all tube and hose
clamps.
6. Start the engine and run at approximately one-third
to one-half throttle for about one minute without
moving the machine or operating any hydraulic
functions.
7. Inspect for leaks and check the level of the hydraulic
fluid in the reservoir. Shut the engine OFF.
8. Wipe up any hydraulic fluid spillage in, on, near and
around the machine, work area and tools.
9. Install the rear panel.
g. Main Control Valve Test
Conduct a pressure check of the hydraulic system in its
entirety. Adjust pressure(s) as required. Refer to Section
8.5.2, “Main Control Valve Pressure Checking.”
8.10.2
Service Brake Valve
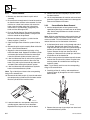
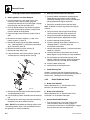
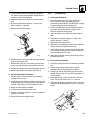
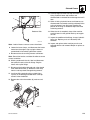
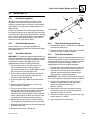
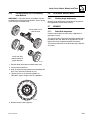
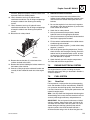
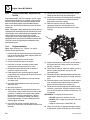
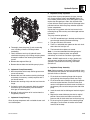
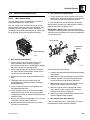
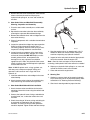
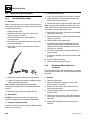
1. Place all three tie rods with the washers and nuts
through the end main control valve section.
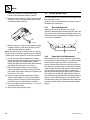
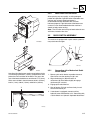
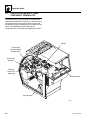
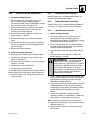
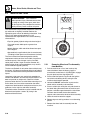
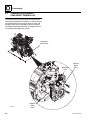
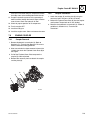
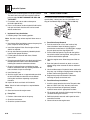
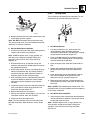
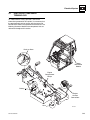
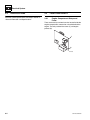
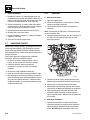
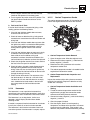
The service brake valve is at the base of the steering
column support, concealed by the lower dash cover.
2. Stand the end main control valve section on end.
The service brakes themselves are part of the front axle.
Refer to Section 5, “Axles, Drive Shafts, Wheels and Tires,”
for further information.
3. Install proper o-rings and load sense shuttle on the
inner face of the end main control valve section.
Align the Crowd section over the three tie rods and
slide onto the end main control valve section.
4. Using proper o-rings and load sense shuttle, repeat
step three for the remaining sections.
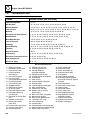
5. Install the washers and nuts on the tie rods and
torque to 18.5 lb-ft (25 Nm).
f.
Main Control Valve Installation
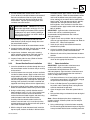
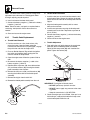
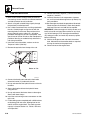
1. Loosely install the four main control valve mounting
bolts through bracket on the rear of the machine.
2. Install the main control valve onto the bracket,
aligning the bolts with the holes in the end sections
of the main control valve. Slide the main control
valve into position, and tighten the bolts.
3. Prime the main control valve by filling the inlet
openings with fresh, filtered hydraulic oil from a
clean container, before attaching the hoses.
8.12
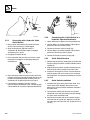
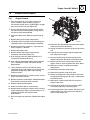
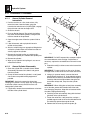
a. Service Brake Valve Removal
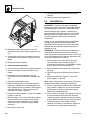
1. Park the machine on a firm, level surface, fully
retract the boom, lower the boom, place the
transmission control lever in (N) NEUTRAL, engage
the park brake and shut the engine OFF.
2. Place an Do Not Operate Tag on both the ignition
key switch and the steering wheel, stating that the
machine should not be operated.
3. Open the engine cover. Allow the system fluids to
cool.
4. Remove the necessary dash panels.
5. Label, disconnect and cap the hydraulic hoses
connected to the service brake valve. Cap all fittings
and openings to keep dirt & debris from entering the
hydraulic system.
G5-19A, G6-23A