1
Getting Started - Software Installation
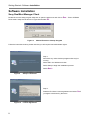
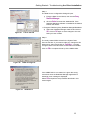
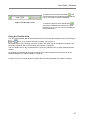
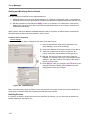
Step 9:
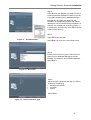
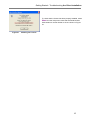
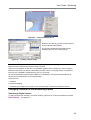
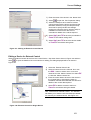
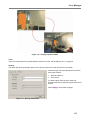
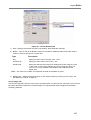
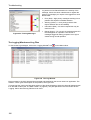
Select Finish to complete the installation of
RealShot Manager.
T
T
Note: You will need to obtain a software license file
before using RealShot Manager.
Figure 17
End RealShot Manager Installation
Sony RealShot Manager Server
Installation of the Windows or Linux server-only RealShot Manager application is covered in ‘Installing
RealShot Manager Server’ on page 84.
Starting RealShot Manager
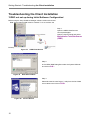
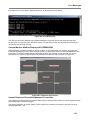
When the application is run for the first time, see User Guide section ‘Launching the Application’, there will
be no initial configuration, the following steps are needed to get a basic working configuration:
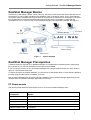
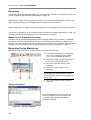
1) Register Cameras.
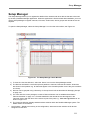
This is achieved using the Setup Manager; see the section entitled ’Setup Manager’ in the RealShot
Manager Administrator Guide. The following compatible Sony video network cameras (both PAL and NTSC
models) are supported:
•
SNC-RZ30 Video Network Pan-Tilt-Zoom Camera. See Figure 1.
•
SNC-VL10 Video Network Camera. See Figure 2.
•
SNT-V304 Video Network station. See Figure 4.
•
SNT-V501 Video Network station. See Figure 4.
•
SNT-V504 Video Network station
•
SNC-Z20 Video Network Zoom Camera.
•
SNC-CS3 Video Network Camera.
•
SNC-P1 Video Network Camera (for Motion JPEG or MPEG-4). See Figure 5.
•
SNC-DF40 Video Network Camera (for Motion JPEG or MPEG-4). See Figure 6.
Administrators: refer to the individual camera user guides for details on how to assign IP addresses.
1) Create a Screen Layout; see the section entitled ‘Layout Editor’ in the RealShot Manager
‘Administrator Guide’.
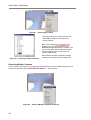
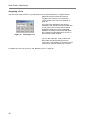
2) Assign Cameras to Monitor Windows. See section ‘Changing Cameras in the Monitoring Layout’ in the
RealShot Manager ‘User Guide’.
3) Create user accounts. See ‘Manage User Accounts’ in the RealShot Manager ‘Administrator Guide’
for details of how to create and manage user login details.
11