1
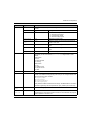
M580 CPU Configuration
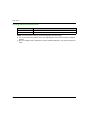
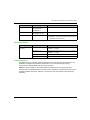
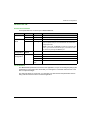
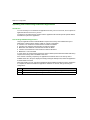
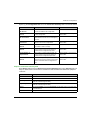
Step
Action
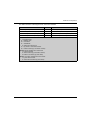
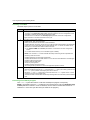
5
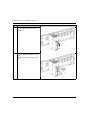
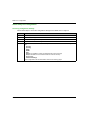
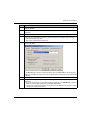
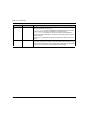
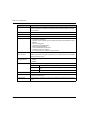
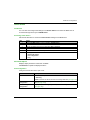
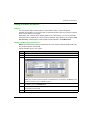
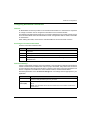
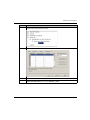
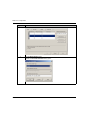
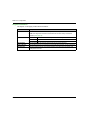
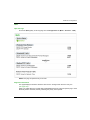
Select Local Slave 4 - Exclusive Owner.
6
Click Apply.
The local slave (Local Slave 1) is now the target of a local slave instance with a context-sensitive
connection name (Local Slave 1 - Exclusive Owner).
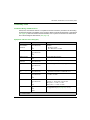
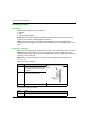
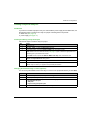
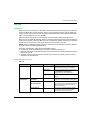
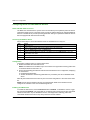
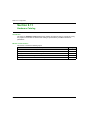
Mapping IP Addresses
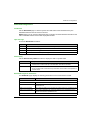
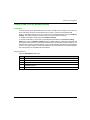
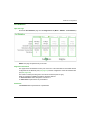
Associate the IP address of the local slave (target, T) with the local slave instances in the scanner
(originator, O) configuration:
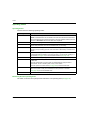
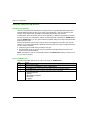
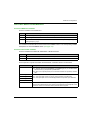
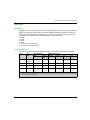
Step
Action
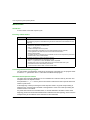
1
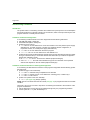
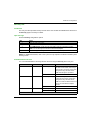
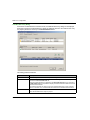
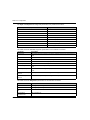
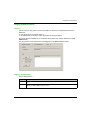
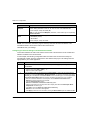
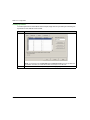
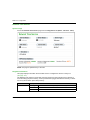
Double-click the BME NOC 0301 module in the DTM Browser.
2
In the navigation pane, expand the Device List.
3
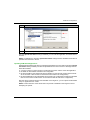
Select a local slave instance (BMEP58_ECPU_from_EDS_LS1).
4
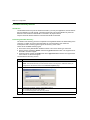
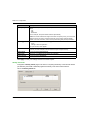
Select the Address Setting tab.
5
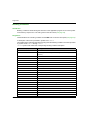
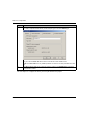
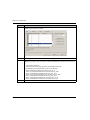
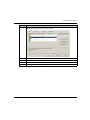
In the IP Address field, enter the IP address of the local slave device (192.168.20.10).
6
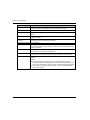
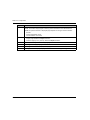
Click inside the navigation pane to make the Apply button active.
NOTE: You may have to select Disabled in the drop-down menu (DHCP for this device) to
activate the OK and Apply buttons.
7
Configure the data size.
8
Click Apply.
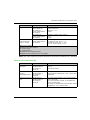
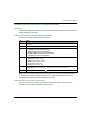
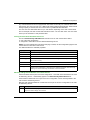
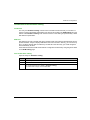
Configuring an Additional Connection
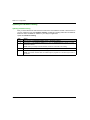
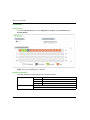
You have created one local slave instance that corresponds by name and IP address to an enabled
local slave. This example uses two local slave connections, so make another connection for Local
Slave 2.
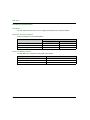
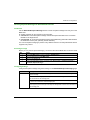
Step
Action
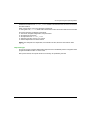
1
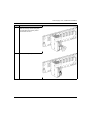
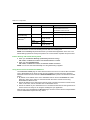
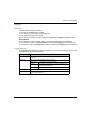
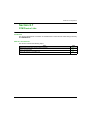
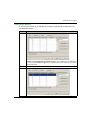
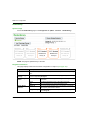
Repeat the preceeding steps (see page 261) to create a second local slave instance that
corresponds to Local Slave 2.
2
Build the Unity Pro project.
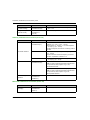
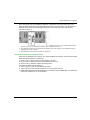
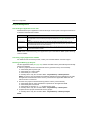
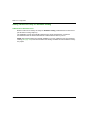
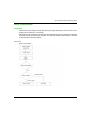
Accessing the Device DDT Variables
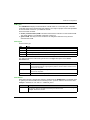
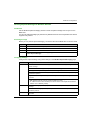
Step
Actiom
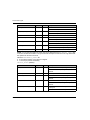
1
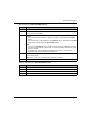
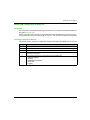
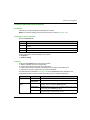
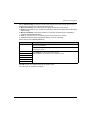
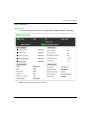
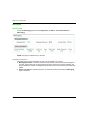
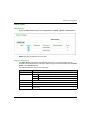
In the Project Browser (Tools →Project Browser), expand Variables & FB instances.
2
Double-click Device DDT Variables to see the device DDTs that correspond with the CPU’s
scanner service.
EIO0000001578 09/2014
261