1
Setting Up for a Collection
Users Guide
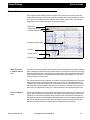
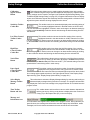
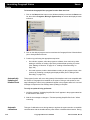
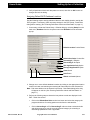
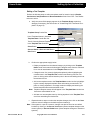
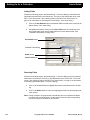
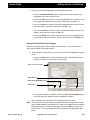
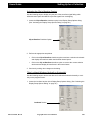
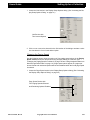
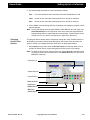
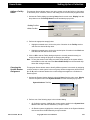
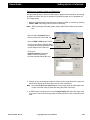
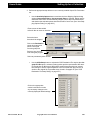
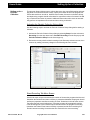
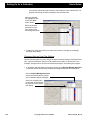
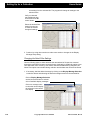
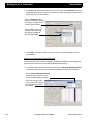
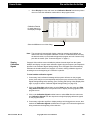
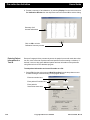
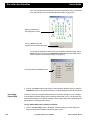
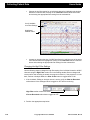
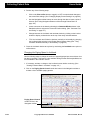
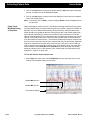
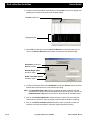
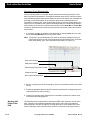
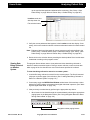
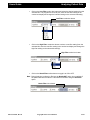
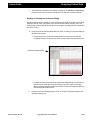
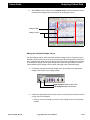
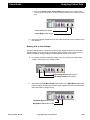
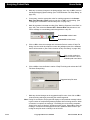
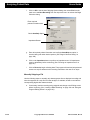
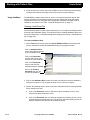
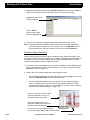
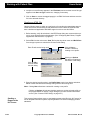
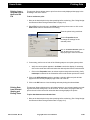
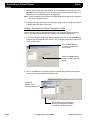
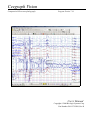
To create a photic stimulation sequence for use during a collection:
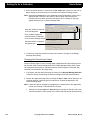
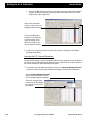
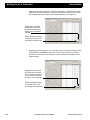
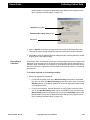
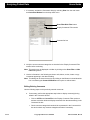
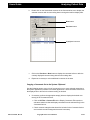
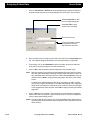
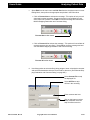
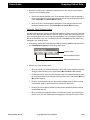
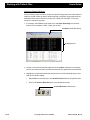
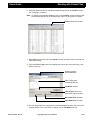
1. Select Setup from the main menu, Activations from the drop-down menu and Photic
Sequence 1 or 2 from the pop-up menu to activate the appropriate dialog.
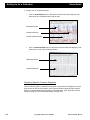
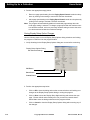
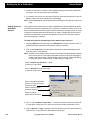
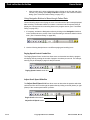
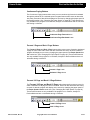
Highlighted Sequence
Sequence Rate
Sequence Duration
Interval Between Sequences
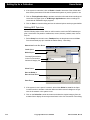
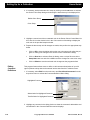
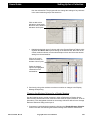
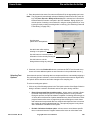
2. Highlight the desired sequence in the scroll bar list box to display the selected
sequence’s rate, duration and time interval in the provided combo box displays.
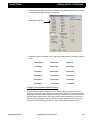
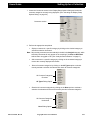
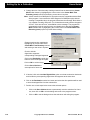
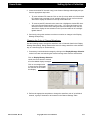
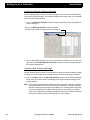
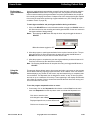
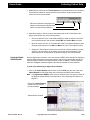
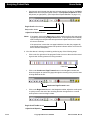
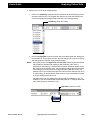
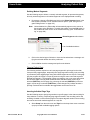
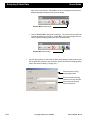
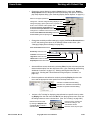
3. Make necessary changes to the displayed settings by clicking on the Rate, Duration
or Interval combo box button and selecting an alternate value from the activated list.
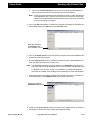
4. Verify the sequence settings are correct, then click on OK to close the dialog and use
the settings until exiting the program or making new changes to the dialog.
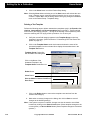
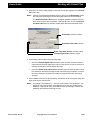
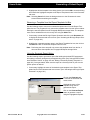
Note: To save the settings as the program default, select File from the main menu and
Save Global Setup from the drop-down menu after exiting the Photic Sequence
Control Settings dialog and then answer Yes when the message: “System default
values already exist. Do you want to overwrite them?” appears on the screen
Setting up
Hyperventilation
Times
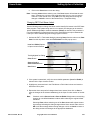
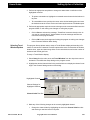
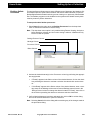
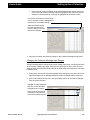
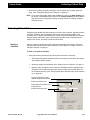
Use the following steps to determine the amount of elapsed time the HV screen button
should use to mark hyperventilation (HV) and post-hyperventilation (PST) in a patient
recording.
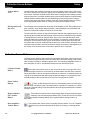
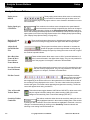
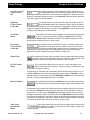
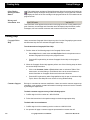
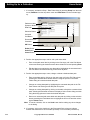
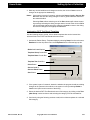
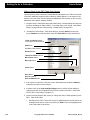
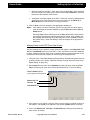
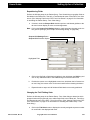
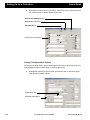
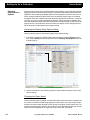
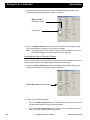
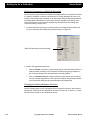
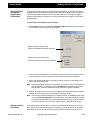
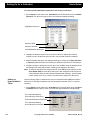
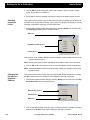
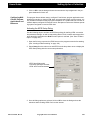
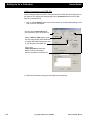
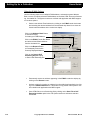
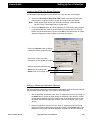
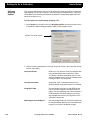
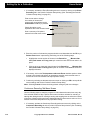
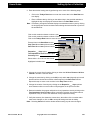
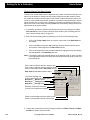
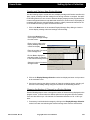
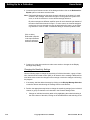
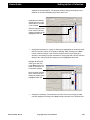
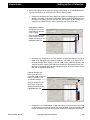
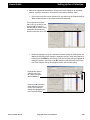
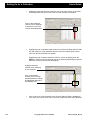
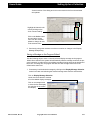
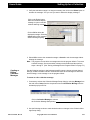
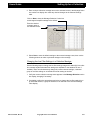
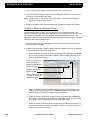
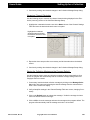
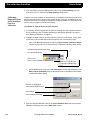
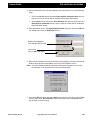
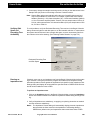
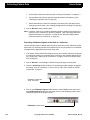
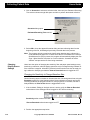
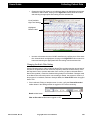
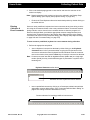
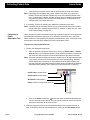
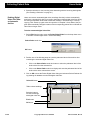
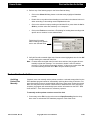
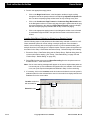
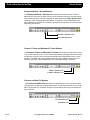
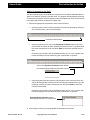
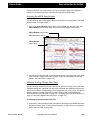
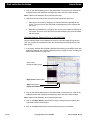
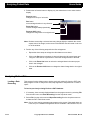
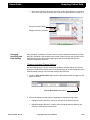
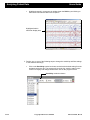
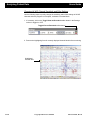
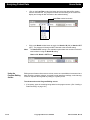
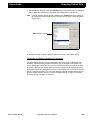
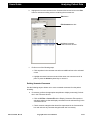
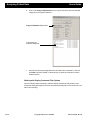
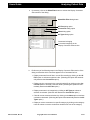
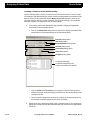
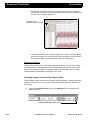
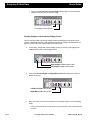
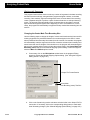
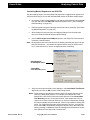
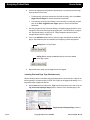
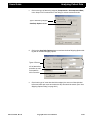
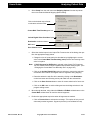
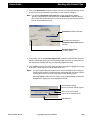
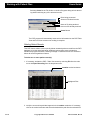
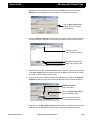
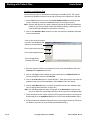
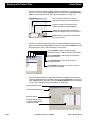
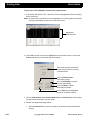
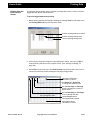
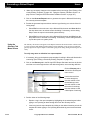
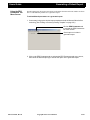
1. Select Setup from the main menu, Activations from the drop-down menu and Hyperventilation from the pop-up menu to activate the Hyperventilation Settings dialog.
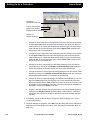
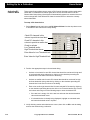
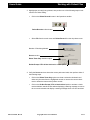
Time Automatic Marking
Occurs During HV Recovery
Time Interval Between Each Mark
Time Automatic Marking
Occurs During HV Activation
2-36
Ceegraph Vision Users Manual
590-CGVUM1, Rev B