1
5
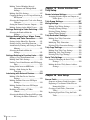
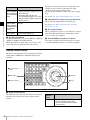
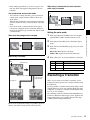
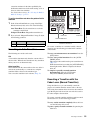
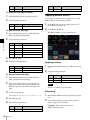
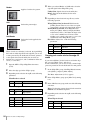
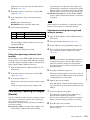
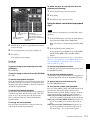
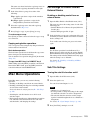
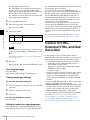
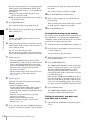
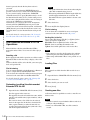
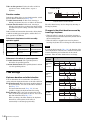
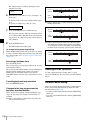
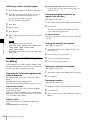
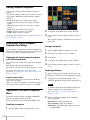
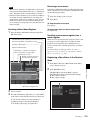
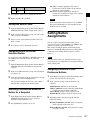
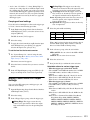
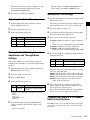
To play the clip as soon as it is recalled, press [Auto
Play], turning it on.
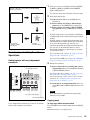
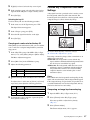
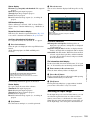
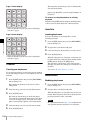
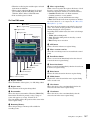
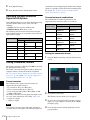
Snapshot Status Display
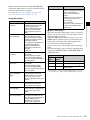
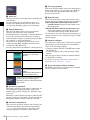
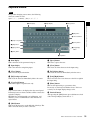
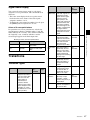
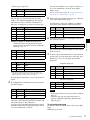
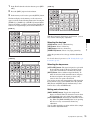
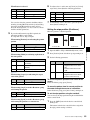
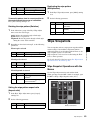
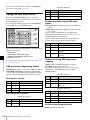
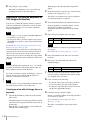
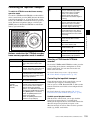
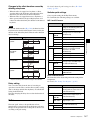
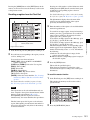
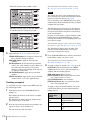
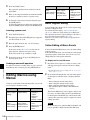
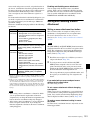
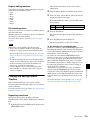
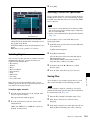
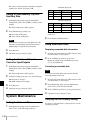
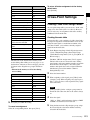
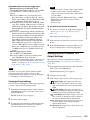
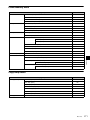
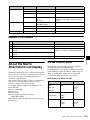
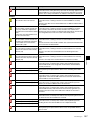
The Snapshot >Snapshot >Attribute menu (6321) displays
the following information.
Region name: The selected region name appears in the
upper part of the list.
Register number
Register name
Write-protected status: When the register is writeprotected, a letter “L” appears.
Empty status: When the register is empty, an “E” (for
“empty”) appears.
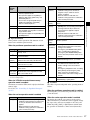
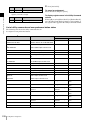
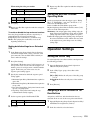
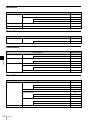
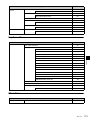
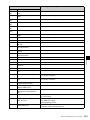
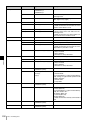
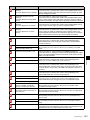
Attribute settings: The attributes set for a register are
shown by the following character codes.
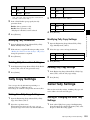
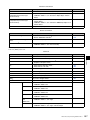
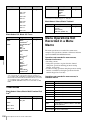
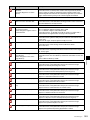
• When the cross-point hold is set
Attributes set
A, B
Cross-point hold is set for the A or B
background bus.
1, 2, 3, 4
Cross-point hold is set for one of the
key 1 to 4 buses.
U1
Cross-point hold is set for the utility
bus.
Aux
Cross-point hold is set for one of the
AUX buses.
Fm1, Fm2
Cross-point hold is set for one of the
frame memory 1 and 2 buses.
RTR
Cross-point hold is set for the Router
region.
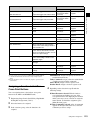
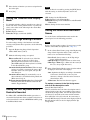
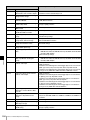
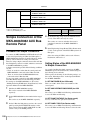
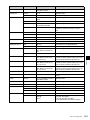
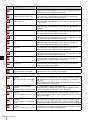
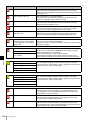
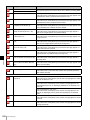
• When an effect dissolve is set
Displayed
character string
Attributes set
Duration value
The effect dissolve attribute is set,
with the displayed duration.
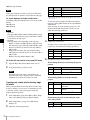
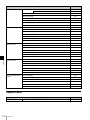
• When an auto transition is set
Displayed
character string
Attributes set
T
Auto transition is set.
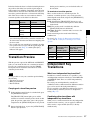
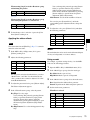
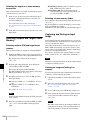
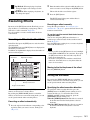
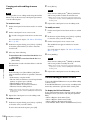
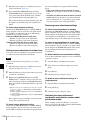
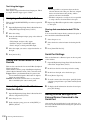
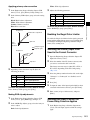
Applying key snapshot attributes
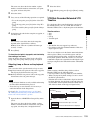
1
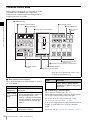
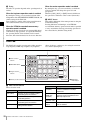
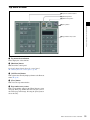
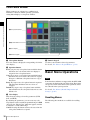
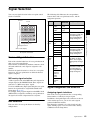
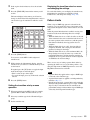
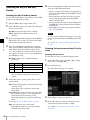
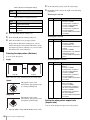
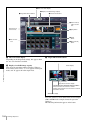
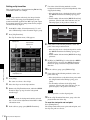
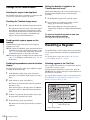
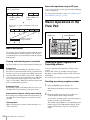
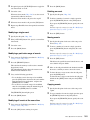
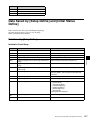
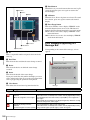
The status area shows the region names, register
numbers, and whether the registers are locked or not.
2
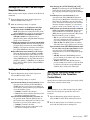
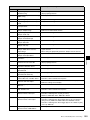
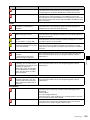
Attributes set
Port number
GPI output is set for the port of the
displayed number.
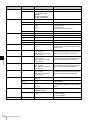
• When a clip event is set
Displayed
character string
Attributes set
On
Clip event is set.
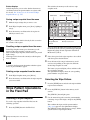
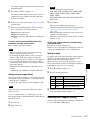
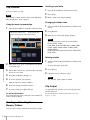
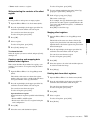
Press the region display in the upper part of the list,
and in the selection window select the region.
You can select more than one region.
3
Press [OK].
4
Select a register.
5
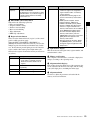
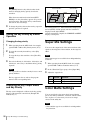
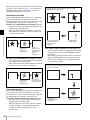
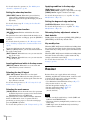
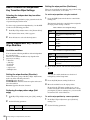
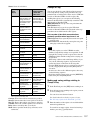
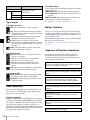
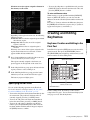
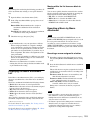
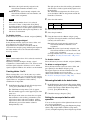
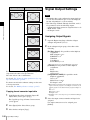
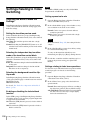
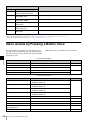
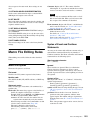
In the <Recall Mode> group, set the state for save and
recall operations.
XPT: Only the key material selection data is saved or
recalled.
Modifier: Only the key modifier settings are saved or
recalled.
Transition: Only the independent key transition
settings are saved or recalled.
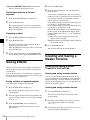
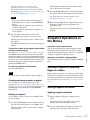
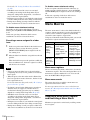
Creating and Saving a Master
Snapshot
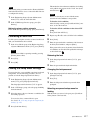
To save a master snapshot, recall the Snapshot >Master
Snapshot >Store menu (6311) and refer to the operation in
“Creating and Saving a Master Timeline with the Menu”
(1 p. 163).
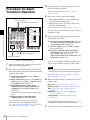
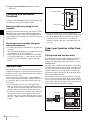
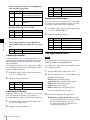
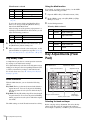
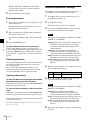
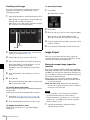
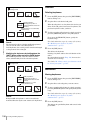
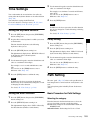
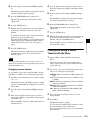
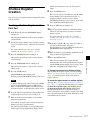
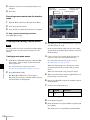
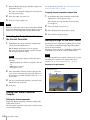
Recalling the Store menu
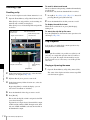
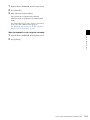
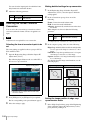
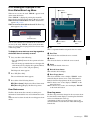
1
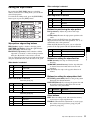
Open the Snapshot >Master Snapshot >Store menu
(6311).
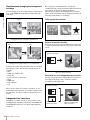
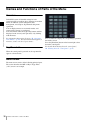
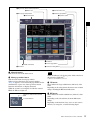
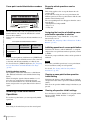
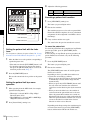
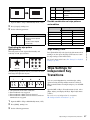
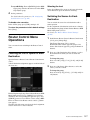
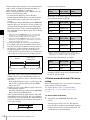
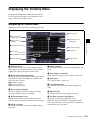
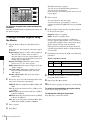
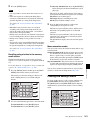
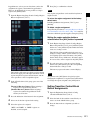
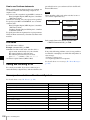
The status area shows the master snapshot register
names, register lock status, register number for each
region, and so on.
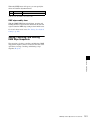
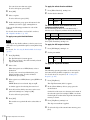
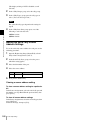
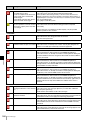
• When a GPI output is set
Displayed
character string
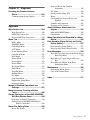
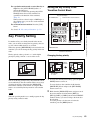
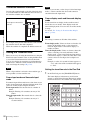
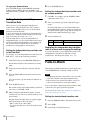
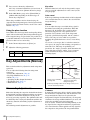
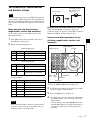
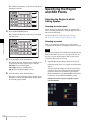
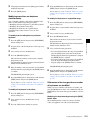
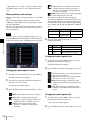
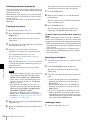
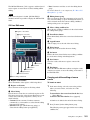
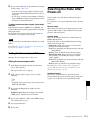
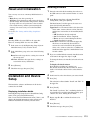
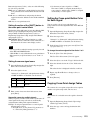
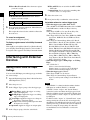
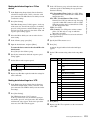
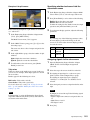
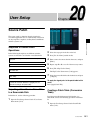
Open the Snapshot >Key Snapshot >Attribute menu
(6351).
Chapter 12 Snapshots
Displayed
character string
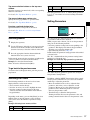
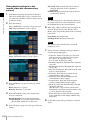
Setting Key Snapshot Attributes
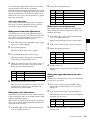
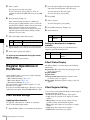
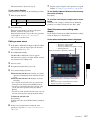
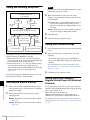
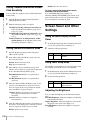
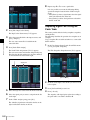
2
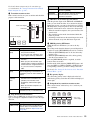
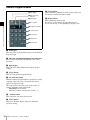
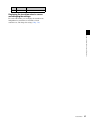
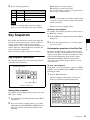
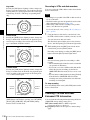
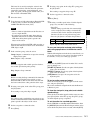
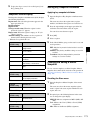
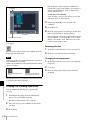
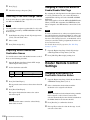
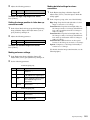
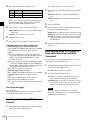
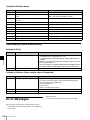
If required, press the following buttons in the status
area to change the region display.
M/E, P/P: Indicates assignment of M/E-1 (ME1), P/P
(P/P).
User: Indicates the User1 (USR1) to User8 (USR8)
assignments.
Misc: Indicates the Router (RTR) assignment.
Snapshot Operations in the Menus
173