1
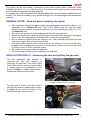
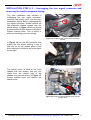
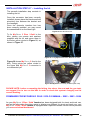
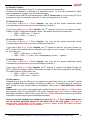
Once removed the 2 hex screws, you may
uplift the gas tank using the bracket
supplied with the bike’s standard
equipment.
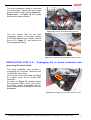
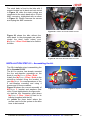
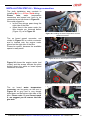
Once uplifted the gas tank You should be
able to work properly. Anyway, if you
prefer, you can remove it to have more
space to work. Please refer to the bike
user manual to know how to remove
the gas tank.
Figure 3:Uplifting the gas tank.
INSTALLATION STEP # 2 – Removing the right fairing.
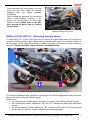
To install MyChron 3 Plus /Gold you have to remove the right lateral fairing. Of course you
can also choose to remove both lateral fairings. Anyway here below You see the location of
all the screws on the right lateral fairing. Location of screws on the left one is the same, but
specular. Please remember: figure 4 shows a Yamaha R6 bike.
9
6
7
5
8
9
12
13
14
4
3
G
2
1
11
10
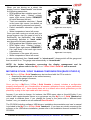
Figure 4: Location of the lateral fairing screws and fairings groove point.
The second installation step consists in removing all the screws highlighted in the photo here
above and unthread the two lateral fairings.
Please note:
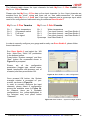
• the yellow arrows indicate three clips that you can see only looking the bike frontally.
• the red and blue arrows, labeled as “10” and “11” indicate two particularly positioned
screws
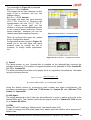
• the yellow and blue arrows labeled as “G” indicate a point where the lateral fairings
are grooved (G) and not screwed together (see following pages).
Installation documentation: MyChron 3 Plus/Gold plug and play kit - Yamaha R1 - R6 – Version 1.00
3