1
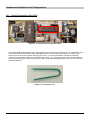
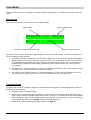
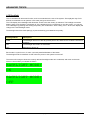
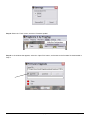
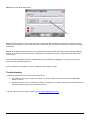
Step 6: Press the “Download” button. Step 7: Switch on the gun. After a short time, the FragScore display should show that it has connected, and the progress bar will begin to move across the screen. At this time, the gun display will be blank, and the hit led will be illuminated. Step 8: After approximately 60 seconds, the progress bar will reach 100% and the gun will start up automatically, and you will be taken to the configuration menus (refer to configuration section.) Unplug the stereo audio cable from the gun. This completes the update procedure. Additional guns can be updated by plugging in a new gun (with the gun power off) and repeating steps 6 to 8. At the completion of all updates, exit from FragScore and unplug the cable. Troubleshooting If the above procedure does not work, check these items: Try a different comm port number in the step 3. It can be difficult to identify which port the USB cable adopts on the PC Double check all of your connections and cables, including the connection between the mainboard and the Odin port inside the gun (refer to Hardware section.) If all of the above still fail to work, contact us on techsupport@fragtag.com.au © FragTag 2012 Page 51 of 51