1
Service
Serinus 51 User manual 1.0
6.4.6 Advanced leak check
1.
2.
3.
4.
5.
6.
If a leak is suspected a more intensive leak check can be performed.
Continue from the setup in the quick leak check.
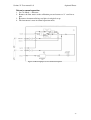
Connect a pump to the exhaust port with a shut off valve (pump side)
and a vacuum gauge (exhaust port side) between the two
Ensure that the shut off valve is open then turn on the pump (1-2
minutes) and create a vacuum.
Close the shut off valve and measure the vacuum. If the vacuum slowly
drops (pressure rises) then a leak is present
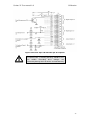
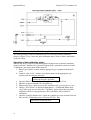
Open each valve individually, leaving the other two closed, and using the
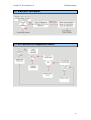
plumbing diagram determine the location of the leak
When the location of the leak has been determined check all tubing and
fittings to make sure that they are attached appropriately and have no
splits or cracks
6.4.7 Replace Zero air scrubber
1.
2.
3.
4.
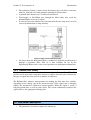
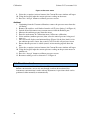
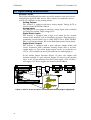
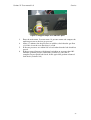
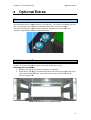
Open the lid of the analyzer
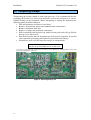
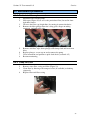
Remove the tubing from the barb fitting on top of the scrubber (1 in
Figure 26)
Remove the DFU from the fitting below the scrubber by pulling it out (2
in Figure 26)
Now the scrubber holder can be opened with a screwdriver (3 in Figure
26)
Figure 26 Zero scrubber removal
5.
6.
7.
The zero scrubber can now be replaced with a new scrubber and all
fittings and tubing replaced
Perform a leak check (section 6.4.5)
Perform a zero and span calibration (section 4.1 and 4.2)
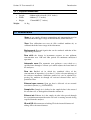
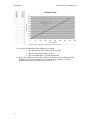
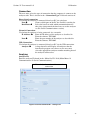
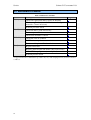
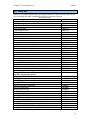
Average SO2 Concentration
0 to 30 ppb
30 to 100 ppb
> 100 ppb
58
Charcoal Replacement
12 Months
6 Months
1 Month