1
Generating Reports
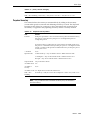
Promotion Item
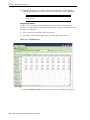
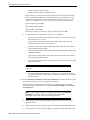
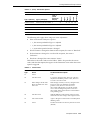
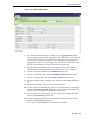
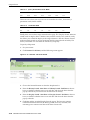
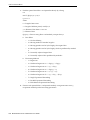
To create a Promotion Item report
1.
Set your context.
2.
Select Reports - Create.
3.
Configure the General, Context Detail, Repeat Frequency, Layout, Horizon, and
Filter sections as described in Common Report Settings.
4.
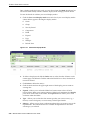
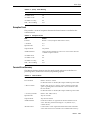
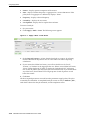
Select whether the Promotion View should be "Local" or "Partner" from the
drop-down.
5.
In the UOM drop-down, select which unit of measure the report should use to
display data.
6.
Click Save and the created report appears in the Reports - List screen.
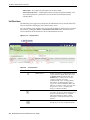
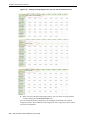
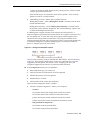
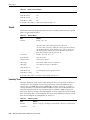
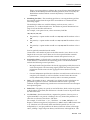
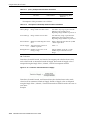
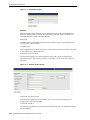
Promotion Item Report Formula:
Planned Lift = Promo POS FC / Base POS FC
Actual Lift = (Actual POS - Base POS FC) / Base POS FC
% Sell = Actual Total POS / (Base POS FC + Promo POS FC) * 100
Generating Reports
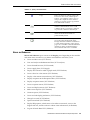
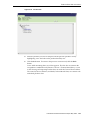
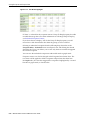
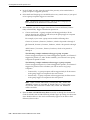
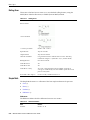
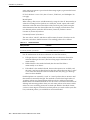
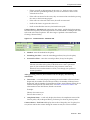
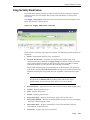
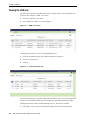
After creating a report, you must process the reports in order to send them. "Send
Reports" needs to be run using the Scheduler.
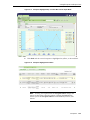
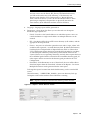
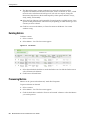
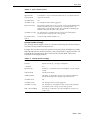
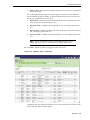
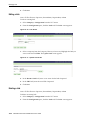
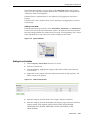
Check the "Process on Demand" check box on the Reports - List screen, and click the
"Process Selected Items" button. Next, schedule the "Run Report" task to generate the
reports in the Scheduler. Click "Send Reports" to send the reports to the addresses
entered for the report, and "Run and Send Report" to generate and send the report
through the Scheduler.
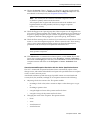
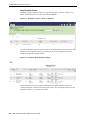
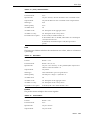
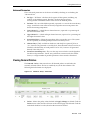
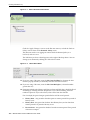
To schedule the "Report Usage" task
1.
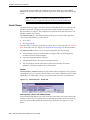
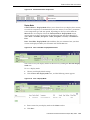
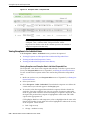
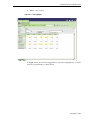
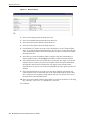
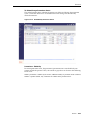
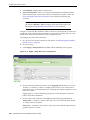
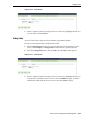
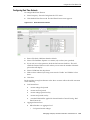
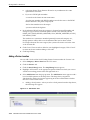
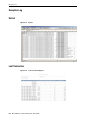
Select Scheduler - Events.
2.
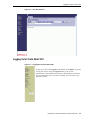
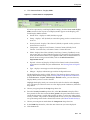
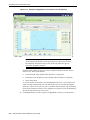
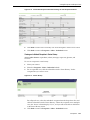
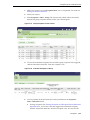
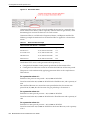
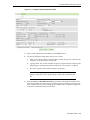
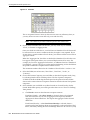
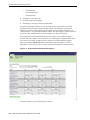
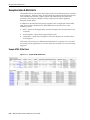
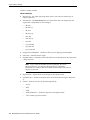
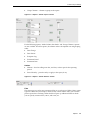
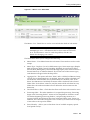
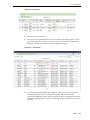
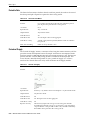
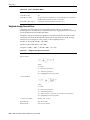
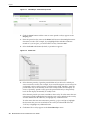
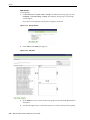
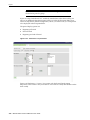
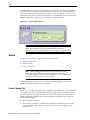
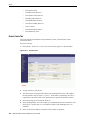
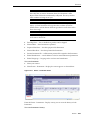
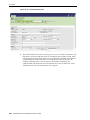
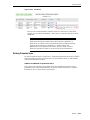
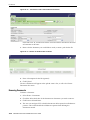
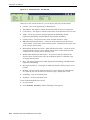
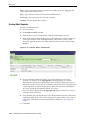
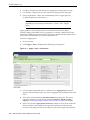
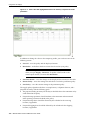
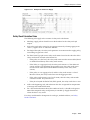
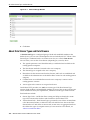
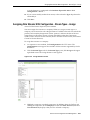
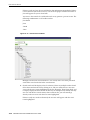
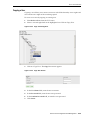
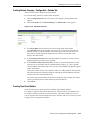
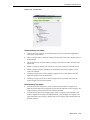
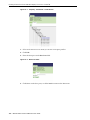
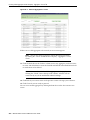
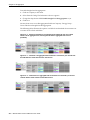
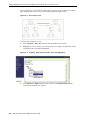
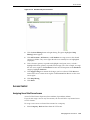
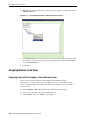
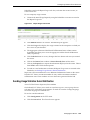
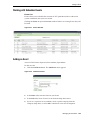
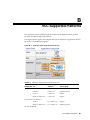
When the Scheduler - Events screen appears, click the Add Event button.
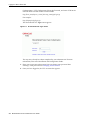
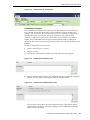
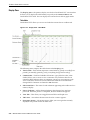
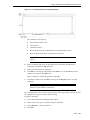
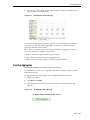
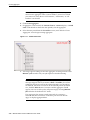
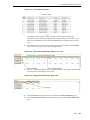
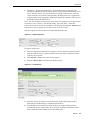
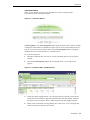
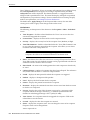
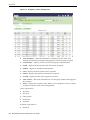
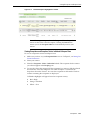
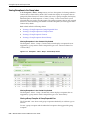
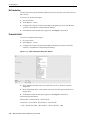
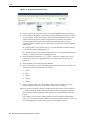
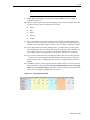
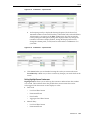
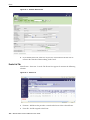
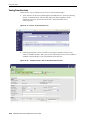
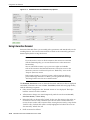
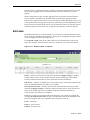
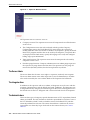
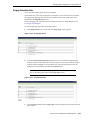
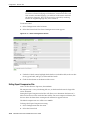
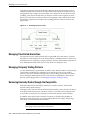
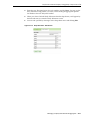
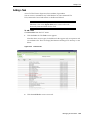
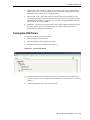
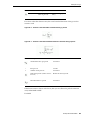
Figure 7–16 Scheduler - Events Screen
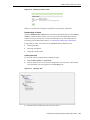
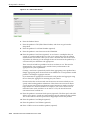
3.
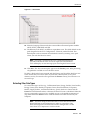
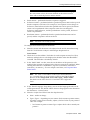
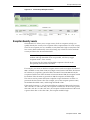
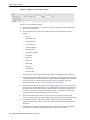
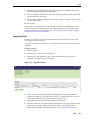
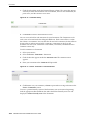
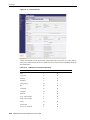
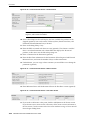
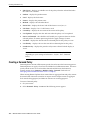
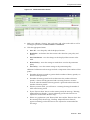
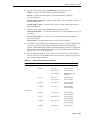
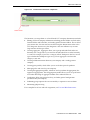
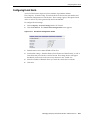
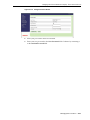
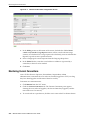
In the Scheduler - Add Event screen enter a name for the event.
Reports 7-17