1
Chapter 6: Creating Glide Grid Files
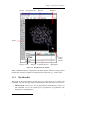
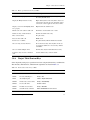
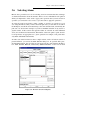
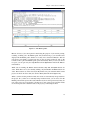
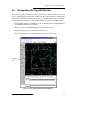
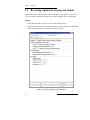
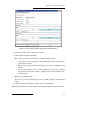
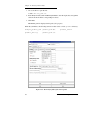
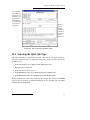
Figure 6.2. The Project Table panel.
9. In the Import panel, deselect Replace workspace.
10. Import the structure in the file H01_rec.mae.
11. On the toolbar, click the Show/Hide project table button.
The Project Table panel is displayed, showing the entries for the 21 structures that
you have imported.
When you complete this exercise, you will have imported the H01 receptor, the cocrystallized ligand, and 19 structurally similar ligand structures into a scratch project. You will
also have displayed the receptor and the first ligand structure in the Workspace and colored
the ligand so that it is distinguishable from the receptor.
Generally, before you begin working on structures in a scratch project, you should save the
project. This ensures that Maestro saves all changes to the project without prompting you,
if your synchronization preference is set to Automatically. All data associated with a
scratch project is discarded when the Maestro session is ended or when you close the
project. Follow the instructions in the next exercise to save your project.
6.4
Saving a Scratch Project
This section describes how to save the project that you created in the preceding exercise.
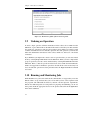
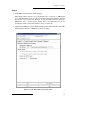
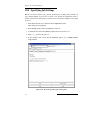
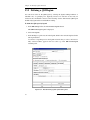
1. From the Project menu in the main window, choose Save As.
The Save Project As project selector is displayed.
2. Navigate to your working directory (or click the Working Directory button).
40
FirstDiscovery 3.0 Quick Start Guide