1
Chapter6 PDM.fm Page 60 Saturday, September 10, 2011 6:47 PM
6 Using the Personal Diabetes Manager
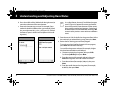
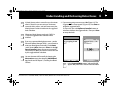
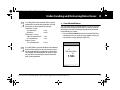
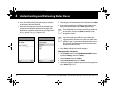
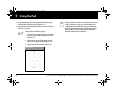
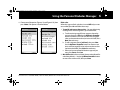
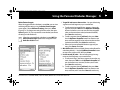
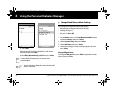
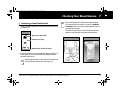
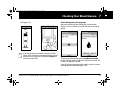
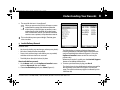
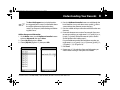
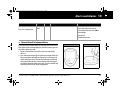
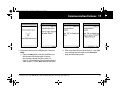
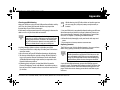
2. Press 12/24 hr to choose either a 12-hour or 24-hour clock,
then press Enter (Figure 6-3).
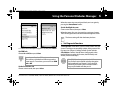
Figure 6-3
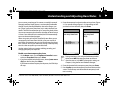
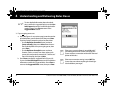
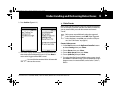
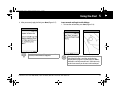
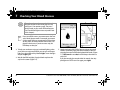
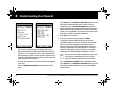
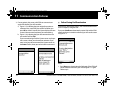
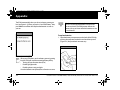
Figure 6-4
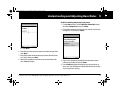
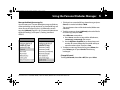
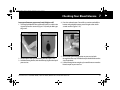
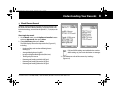
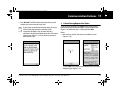
4. Choose the date format to be displayed by the PDM, then
press Select.
5. Press Confirm to accept the new date and format.
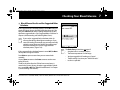
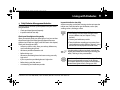
If you suspended insulin delivery to change the
time or date, remember to resume insulin delivery. If you changed the time or date during the
Pod change process, remember to activate a new
Pod.
■ Change Bolus and Basal Settings
3. Press Confirm to accept the new time (Figure 6-4).
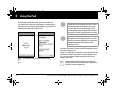
Reset the date
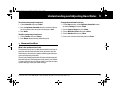
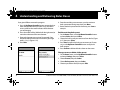
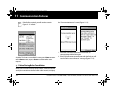
1. Press the Up/Down Controller buttons to choose the current year, then press Next.
2. Choose the current month, then press Next.
3. Choose the current day, then press Next.
60
You and your healthcare provider entered initial bolus and basal
System settings using the Setup Wizard. Using the System setup
menu, you can edit all the OmniPod System bolus and basal settings as your needs change. Check with your healthcare provider
before making any changes.
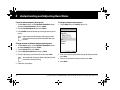
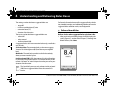
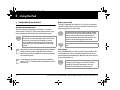
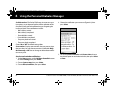
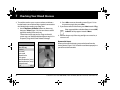
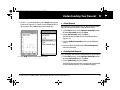
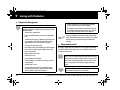
1. On the Home screen, use the Up/Down Controller buttons
to choose Settings; then press Select.
2. Choose System setup, then press Select.
3. Choose Bolus/basal/calcs, then press Select.
Customer Care: 1 855 POD INFO (1 855 763 4636). Outside of Canada: 647-788-3132.