1
Epson Perfection V350 Photo
Ejecting Film
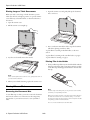
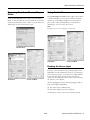
1. Place the film holder on the document table so that it is
aligned as shown. Make sure the tab labeled A on the film
holder fits into the area labeled A on the scanner.
When you finish scanning, follow these steps to eject the film
from the auto film loader:
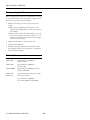
1. Press the 5 Eject button.
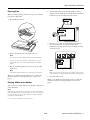
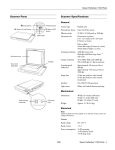
2. Place one or two slides in the film holder with the shiny
base side facing down. Your images should appear
backwards on the side that faces up. Your images should be
oriented as shown.
2. Remove the film after the Status light comes on.
Note:
Do not pull out the film. Wait until it is ejected automatically.
Do not turn off the scanner before ejecting film. If you do so
accidentally, turn on the scanner again and press the 5 Eject
button.
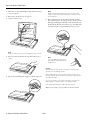
3. Flip the metal film guide back in and close the auto film
loader cover.
Note:
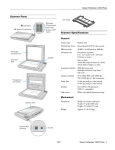
Make sure you place the long edge of the slide in the film holder
as shown above, for both landscape and portrait-oriented photos.
Note:
If the Status light is flashing red, your film may have jammed.
When you are finished scanning film, be sure to replace the
document mat before scanning documents or photos. See
page 8.
3. Close the scanner cover.
When you are finished scanning slides, be sure to replace the
document mat before scanning documents or photos. See
page 8.
Placing Slides in the Holder
You can scan two 35 mm slides at a time using the slide portion
of the film holder.
Note:
Make sure the white stickers on the back of the film holder and the
areas around them are not scratched, dusty, or covered in any way. If
the areas are obscured, the scanner may have trouble recognizing
your slides in Full Auto Mode.
Do not cover the small holes on the film holder.
8/06
Epson Perfection V350 Photo - 7