1
6.10 Live View Setup
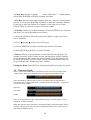
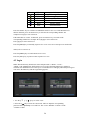
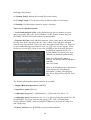
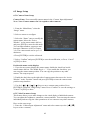
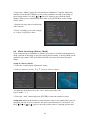
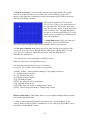
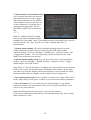
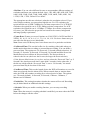
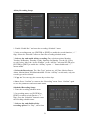
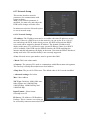
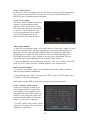
The “Preview”menu provides access to live view parameters.
In “Preview”(live) menu, you can setup live mode, screen sequence time, enable or
disable audio and live view screen formats.
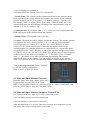
6.11 Recording Setup
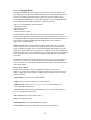
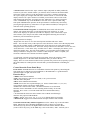
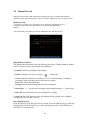
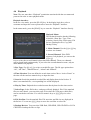
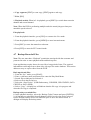
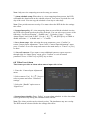
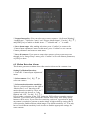
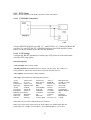
Select “Recording”from the main menu.
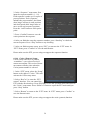
Recording Menu Functions:
•If HD Full: There are two options:
“Overwrite”and “Stop recording”. If
you select the “Overwrite”option, when
all HDDs in DVR are full, the DVR will
overwrite the earliest recorded files and
continue recording. If you select the
“Stop recording”option, when all drives
are all full, the DVR will handle it as
“Hard Disk Full”exception providing
alarm outputs as selected.
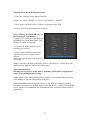
•Select Camera: Use the [ ] [ ] keys to select a camera.
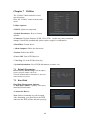
•Stream Type: There are two options, one is “Audio&Video”stream and the other
is “Video”stream only. If you want to record video and audio, select “Audio&Video”
option, otherwise you can select the “Video”option to record video Only.
Note: If you change this option, the DVR must reboot before the changes take effect.
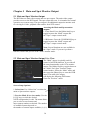
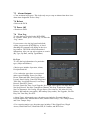
•Resolution: Higher resolution provides a clearer image. The resolution options
from low to high are: QCIF, CIF, 2CIF, DCIF, 4CIF.
Note: Different DVRs support different resolution levels and some support up to
4CIF yet some may only support up to CIF. The actual resolutions should be found in
the specifications for the model purchased. If you change resolution options the DVR
must be rebooted before the changes take effect.
49