1
CD-MPX200W
CD-MPX500W
ENGLISH
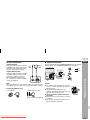
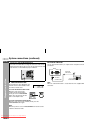
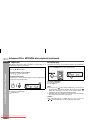
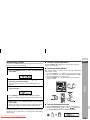
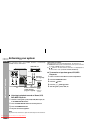
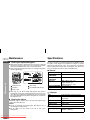
AC Plug Adaptor
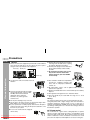
In areas (or countries) where the wall socket as shown in illustration
2 is used, connect the unit using the AC plug adaptor supplied with
the unit, as illustrated. The AC plug adaptor is not included in areas
where the and wall socket and AC power plug can be directly
connected (see illustration 1).
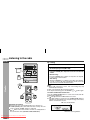
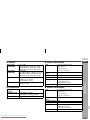
Setting the AC voltage selector
Check the setting of the AC voltage selector located on the rear
panel before plugging the unit into the wall socket. If necessary,
adjust the selector to correspond to the AC power voltage used in
your area.
Turn the selector with a screwdriver until the appropriate
voltage number appears in the window (110 V, 127 V, 220V or
230 V-240 V AC).
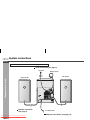
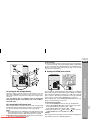
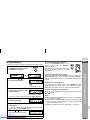
Connecting the AC power lead
After checking all the connections have been made correctly, plug
the AC power lead of this unit into the wall socket. If you plug the unit
first, the unit will enter the demonstration mode (see page 9).
Notes:
The unit will start the tape initialisation when plugged into the wall
socket. During this process, initialising sound will be heard and
the unit cannot be turned on. Wait until the process is finished.
Unplug the AC power lead from the wall socket if the unit will not
Downloaded From
Sharp period
Manualsof time.
be inDisc-Player.com
use for a prolonged
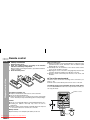
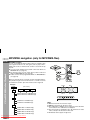
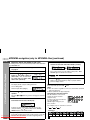
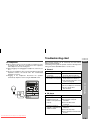
The International Telecommunication Union (ITU) has established
that member countries should maintain either a 100 kHz or a 50 kHz
interval between broadcasting frequencies of FM stations and 10
kHz or 9 kHz for AM station. The illustration shows the 50/9 kHz
zones (regions 1 and 3), and the 100/10 kHz zone (region 2).
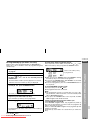
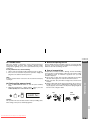
Before using the unit, set the SPAN SELECTOR switch (on the rear
panel) to the interval (span) of your area.
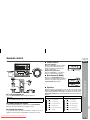
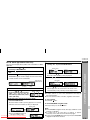
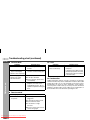
To change the tuning zone:
1 Press the ON/STAND-BY button to enter the stand-by mode.
2 Set the SPAN SELECTOR switch (on the rear panel) as follows.
For 50 kHz FM interval (9 kHz in AM) → 50/9
For 100 kHz FM interval (10 kHz in AM) → 100/10
3 Whilst pressing down the
button and the button, press the
TUNER (BAND) button until "CLEAR ALL" appears.
Caution:
This operation will erase all data stored in memory including clock,
timer settings, tuner preset, and CD programme.
Preparation for Use
Setting the FM/AM span selector
E-10