1
Chapter 7
Configuring the Shark Using the Front Panel
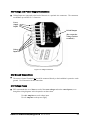
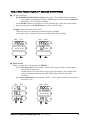
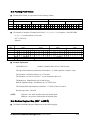
Reading Type Indicator
Parameter Designator
7.1: Overview
Q
The Shark 100 front panel can be used to
configure the meter. The Shark has three
MODES:
IrDA
Operating Mode (Default),
Comm
Reset Mode and
Port
Configuration Mode.
The MENU, ENTER, DOWN and
RIGHT buttons navigate through the
MODES and navigate through all the
SCREENS in each mode.
In this chapter, a typical set up will be
demonstrated. Other settings are
possible. The complete Navigation
Map for the Display Modes is in
Appendix A of this manual. The meter
can also be configured with software
(see Communicator EXT 3.0 Manual).
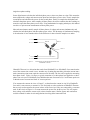
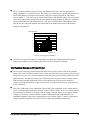
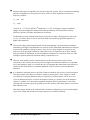
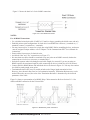
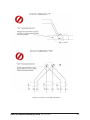
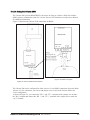
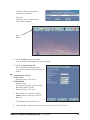
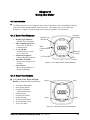
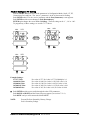
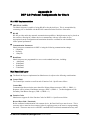
WattHour
Test
Pulse
Scale Selector
% of Load Bar
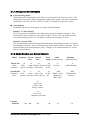
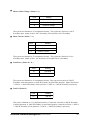
Figure 7.1: Shark Label
7.2: Start Up
Q
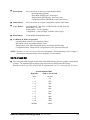
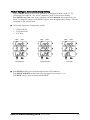
Upon Power Up, the meter will display a sequence of
screens. The sequence includes the following screens:
Lamp Test Screen where all LEDs are lighted
Lamp Test Screen where all digits are lighted
Firmware Screen showing build number
Error Screen (if an error exists)
Shark 100 will then automatically Auto-Scroll the
Parameter Designators on the right side of the front
panel. Values are displayed for each parameter.
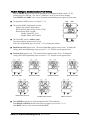
The KILO or MEGA LED lights, showing the scale
for the Wh, VARh and VAh readings.
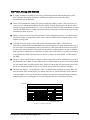
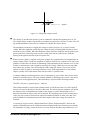
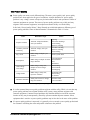
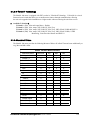
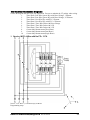
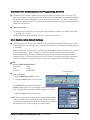
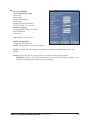
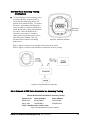
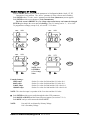
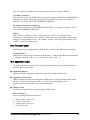
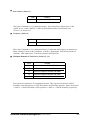
An example of a Wh reading is shown here.
Q
Figure 7.2: Wh Reading
The Shark 100 will continue to scroll through the Parameter Designators, providing readings until
one of the buttons on the front panel is pushed, causing the meter to enter one of the other MODES.
eElectro Industries/GaugeTech
Doc # E145701
7-1