1
Moving to a desired location in the song (Locate/Marker function)
TRACK2
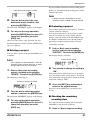
3.
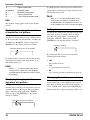
EQ HI 0FF
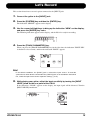
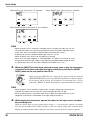
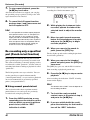
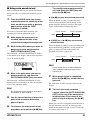
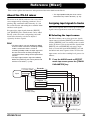
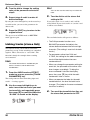
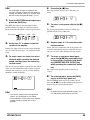
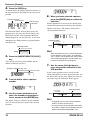
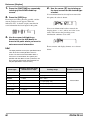
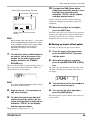
Repeatedly press the cursor [W] key
to bring up the indication “TR x-y” on
the display (where x is the track
number and y the V-take number).
While this screen is shown, you can change the
V-take for the currently selected track.
Moving to a desired location in
the song (Locate/Marker function)
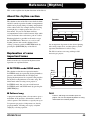
This section describes how to jump to a point
specified in minutes/seconds/milliseconds or
measure/beat units (Locate function) and how to set
a mark at any desired point and jump to that point
(Marker function).
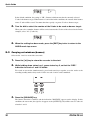
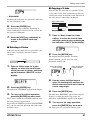
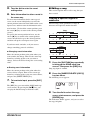
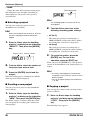
■ Specifying time or measures
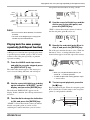
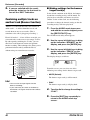
You can specify a point in minutes/seconds/
milliseconds or measure/beat units, and move to
that point.
Track number V-take number
TR
2- 1
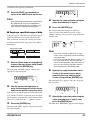
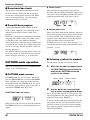
1.
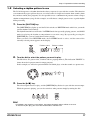
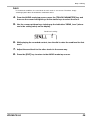
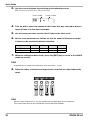
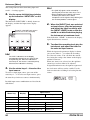
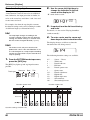
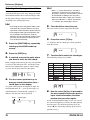
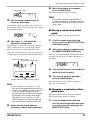
From the AUDIO mode top screen,
set the counter display format to time
or measure/beat.
While the AUDIO mode top screen is shown, you
can control the numeric counter indication to go to
a point.
Currently selected track
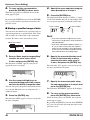
4.
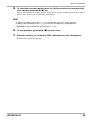
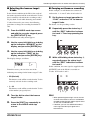
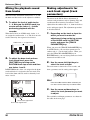
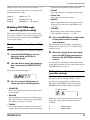
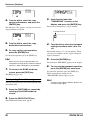
Turn the dial to select the desired
V-take number.
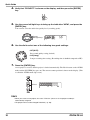
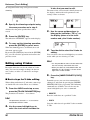
2.
Use the cursor left/right keys to
cause a display digit to flash.
The flashing digit is the one that can be adjusted.
Time display
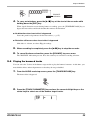
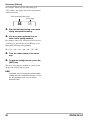
When you select an unrecorded V-take, the
indication “E” (for “Empty”) is shown to the right
of the V-take number.
TR
5.
6.
OOOOOO000
Minutes Seconds
Measure/beat display
2- 2E
If required, use the status keys or
cursor left/right keys to change the
track, and then select the V-take for
that track.
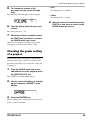
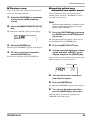
Press the [EXIT] key to return to the
AUDIO mode top screen.
Milliseconds
OO1-O1
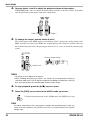
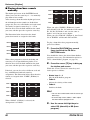
3.
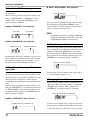
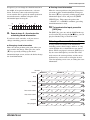
Turn the dial to adjust the value of the
flashing digit.
When the value is changed, the recorder
immediately moves to the new point. By pressing
the [R/P] key, you can start playback from that
point.
HINT
The numeric indication for measure/beat
display depends on the time signature and
tempo of the pattern/song selected in RHYTHM
mode. (For details, see page 59.)
ZOOM PS-04
37