1
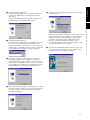
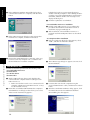
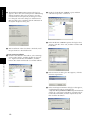
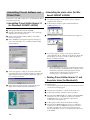
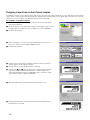
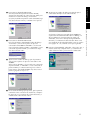
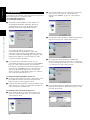
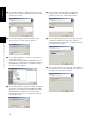
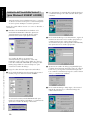
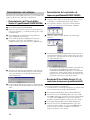
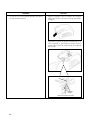
H In the first Add Printer Wizard dialog box that appears,
click the Next button.
For Windows®
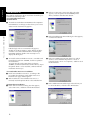
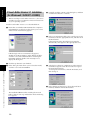
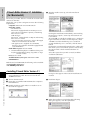
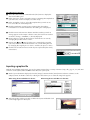
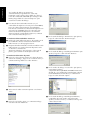
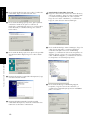
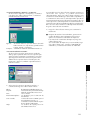
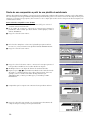
B In the Available port types list box, select “Brother Ptouch Serial Port”, and then click the New Port button.
D Close the Printer Ports and the Print Server Properties
dialog boxes.
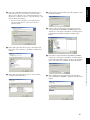
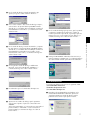
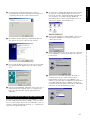
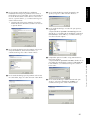
I In the next Add Printer Wizard dialog box, which
allows to select whether the printer is a local or
network printer, select “Local printer”, and then click
the Next button. (Also, make sure that the Plug and
Play option is not selected.)
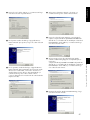
E After installation of the port monitor is finished, install
the printer driver as described below.
(3) Printer driver installation
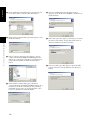
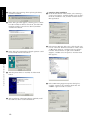
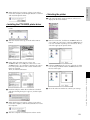
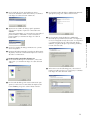
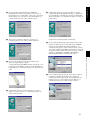
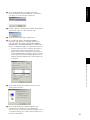
F In the Port Selection dialog box, select “RS-232C”, and
then click the Next button.
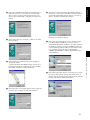
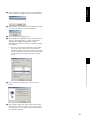
J Select “Use the following port”, select the port chosen
in step 13 from the list, and then click the Next button.
G In the RS-232C Connection dialog box that appears,
note the path to the PT-9200DX printer driver, and
then click the Finish button.
9
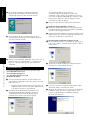
For a serial connection With Windows® 2000
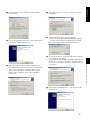
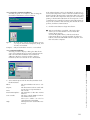
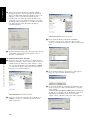
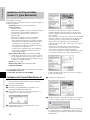
C A dialog box appears, allowing you to select the
PTCOM port where the PT-9200DX is connected.
Select “PTCOM1:” if the P-touch is connected to the
COM1 port, or “PTCOM2:” if the P-touch is connected
to the COM2 port, and then click the OK button.