1
CAUTION:
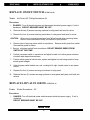
Prior to applying final torque to screws, verify solenoid wires are not pinched
between nut plate and vent assembly. This could create a shorted circuit
causing potential equipment damage and/or personal injury.
16.
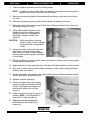
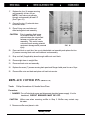
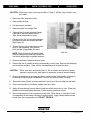
Place vent block on vent tube, line up nut plate behind vent assembly and replace the four
(4) screws securing block to vent tube and vent assembly.
17.
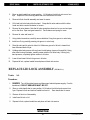
Drop vent ball (if applicable) down through waffle onto vent block.
18.
Place weight down in weight lifter.
19.
Place vent back onto vent assembly.
20.
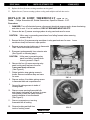
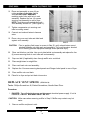
Replace the seven (7) screws securing back panel and Danger Label panel to fryer.
21.
Place muffler onto vent back and place unit back into service.
REPLACE VENT SOLENOID (ITEM NO. 59)
Tools:
Phillips Screwdriver #2; Slotted Screwdriver; Nut Driver - 5/16”; Nut Driver
3/16”.
Procedures:
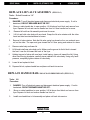
1. DANGER: Turn off electrical power and disconnect electrical power supply. If unit is
hardwired, CIRCUIT BREAKER MUST BE OFF.
CAUTION:
Utilize care when removing muffler in Step 2. Muffler may contain very hot
water.
2. Remove muffler and place in sink.
3. Lift and remove vent back.
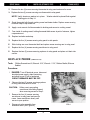
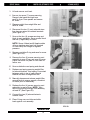
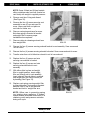
4. Remove the seven (7) screws securing
Danger Label panel and right rear
panel to fryer. Save panels and screws
for reuse.
5. Remove weight from weight lifter.
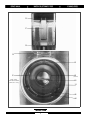
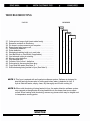
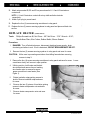
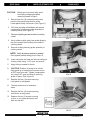
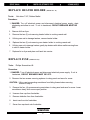
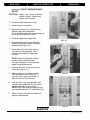
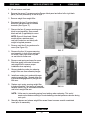
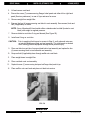
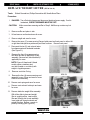
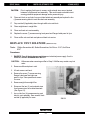
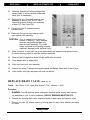
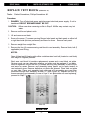
6. Disconnect the two (2) vent solenoid wires
from harness wires at insulated terminals
(See Figure 31).
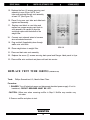
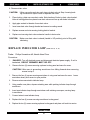
7. Remove the four (4) screws securing vent
block to vent assembly. Save screws, block
and ball (if applicable) for reuse.
FIG.31
WINSTON
53
LIT.6710/REV.0/9-91