1
15: System Setup
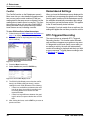
Contrast Adjust
8
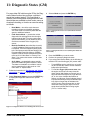
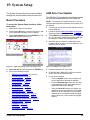
Wait while the tool checks for updates on the portable
USB drive and for the Instructions screen to appear.
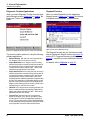
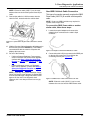
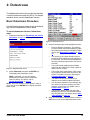
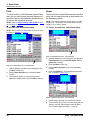
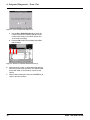
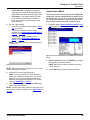
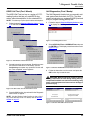
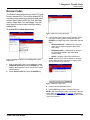
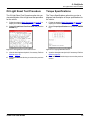
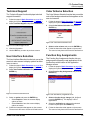
Figure 15.5: Tool Update Complete Message Screen
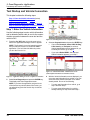
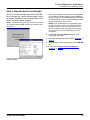
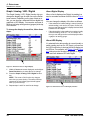
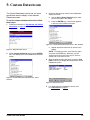
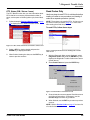
Figure 15.3: Instructions Screen
14 Remove the portable USB drive from the tool.
15 Remove the Smart Card from the tool (if used).
9
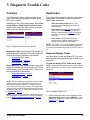
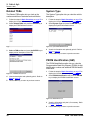
Read the instructions on the screen.
10 Press the ENTER key. The tool checks the external
power source, starts the update, and then displays an
update progress screen.
16 Press the ENTER key to complete the update.
Contrast Adjust
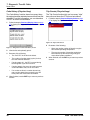
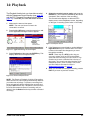
The Contrast Adjust function lets you adjust the
contrast of the LCD screen.
NOTE: Temperature or lighting may affect the brightness
of the scan tool screen. If necessary, use the Contrast
Adjust function to adjust the screen for working conditions.
1
Follow the steps in Basic Procedure to display the
System Setup screen (see Figure 15.1).
2
Select Contrast Adjust and press the ENTER key.
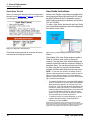
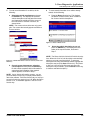
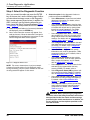
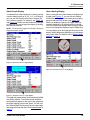
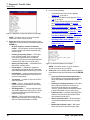
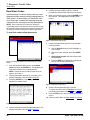
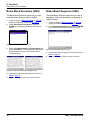
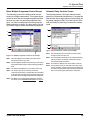
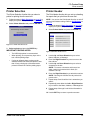
Figure 15.4: Update Progress Screen
11 Notice the remaining time status bar at the top
of the screen. This time changes after the update of
each application.
12 Notice that when a System update completes,
the scan tool reboots, checks the file systems, and
then displays the update progress screen again.
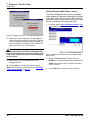
13 Wait for all updates to complete and for the USB Drive
Tool Update Completed message to appear.
70
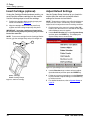
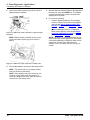
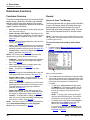
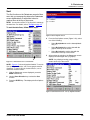
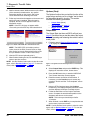
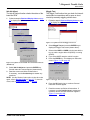
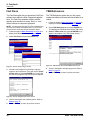
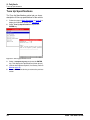
Figure 15.6: Contrast Adjust Screen
3
Use the Left and Right Direction keys to adjust the
contrast.
4
Use the EXIT key to return to previous screens.
Scan Tool User Guide