1
Avid Editing: A Guide for Beginning and Intermediate Users
Synching Tips
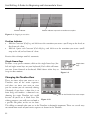
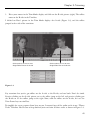
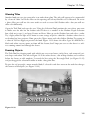
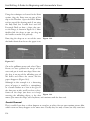
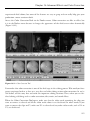
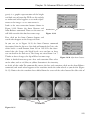
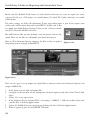
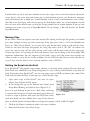
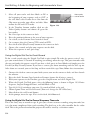
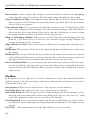
Finding the video frame in the Source
“Crunch” from clapsticks
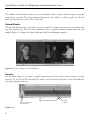
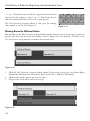
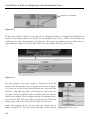
Monitor where the clapsticks on the
slate come together, as they do in
Figure 20.6, is easy. But identifying
in the Source Monitor which precise
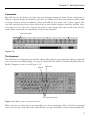
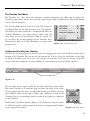
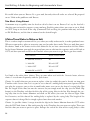
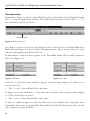
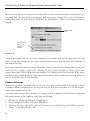
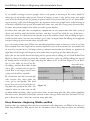
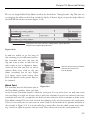
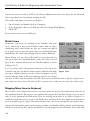
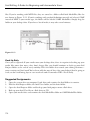
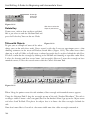
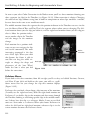
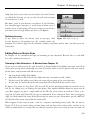
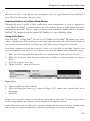
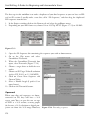
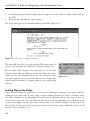
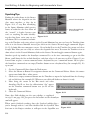
Source/Record Toggle
frame of audio has the first frame of
in source mode
the “crunch” is harder because you
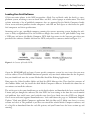
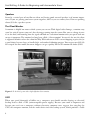
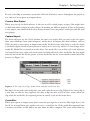
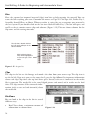
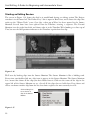
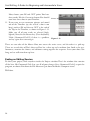
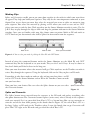
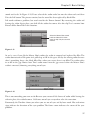
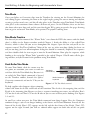
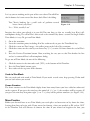
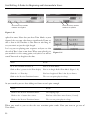
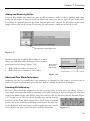
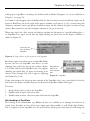
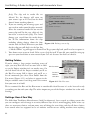
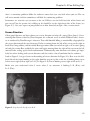
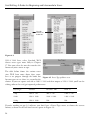
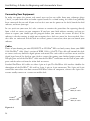
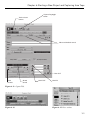
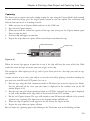
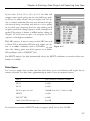
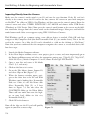
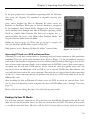
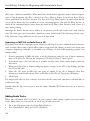
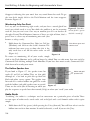
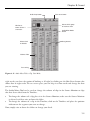
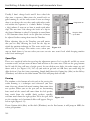
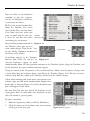
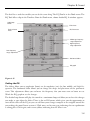
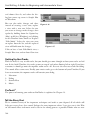
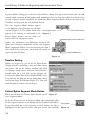
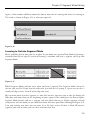
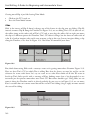
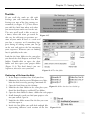
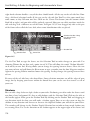
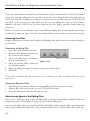
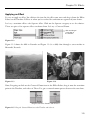
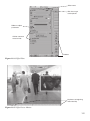
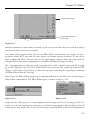
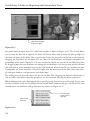
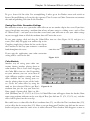
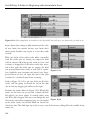
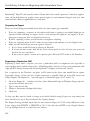
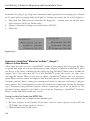
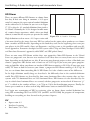
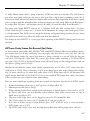
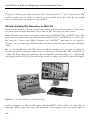
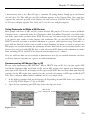
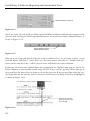
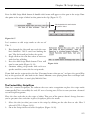
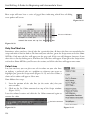
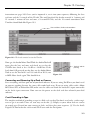
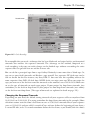
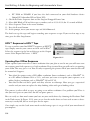
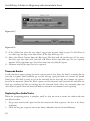
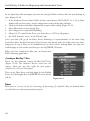
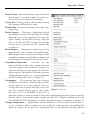
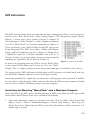
can’t see anything. To make identifying that first frame easier, you can use Figure 20.11
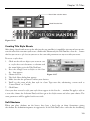
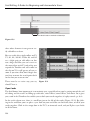
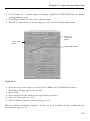
waveforms.We’re accustomed to looking at the Timeline and seeing what is in the Record Monitor, but you can have the Timeline show
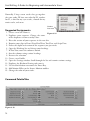
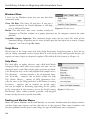
what is in the Source Monitor instead. Just click on the Source/Record toggle command (Figure
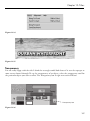
20.11). It looks like two computer screens. Go to Audio Data in the Timeline fast menu and select
Sample Plot. Now you can easily see where the clapsticks first meet. To return the Timeline view to
show what is in the Record Monitor, click on the Source/Record toggle command button again.
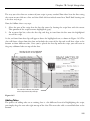
Another speed tip involves the AutoSync command. It can be time consuming to go to the Bin
Menu, scroll down the list to find AutoSync, and then select it. As you may recall in Chapter 10, we
learned how to place a menu command onto a keyboard key or a command button. So, let’s place
the AutoSync command on an empty Timeline button or on a keyboard key (for example, F6). It’s
up to you.
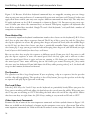
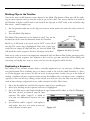
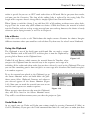
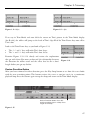
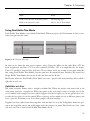
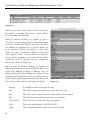
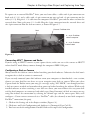
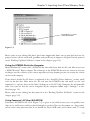
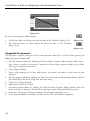
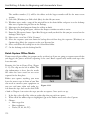
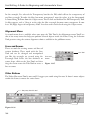
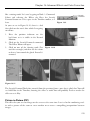
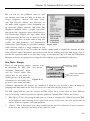
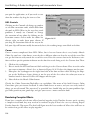
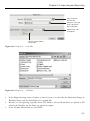
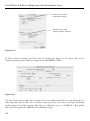
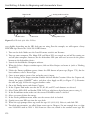
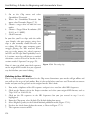
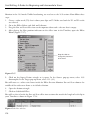
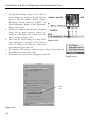
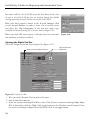
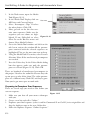
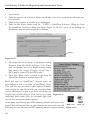
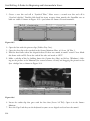
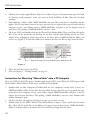
1. Get the Command Palette from the Tools menu.
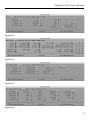
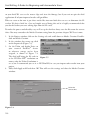
2. Select the ‘Menu to Button’ Reassignment button on the Command Palette. Notice the mouse
cursor now looks like a white menu.
3. Click on an empty command button on the Timeline or open the keyboard from the Settings
tab and click on, for example, F6. Wherever you click will darken to show it’s ready.
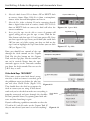
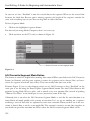
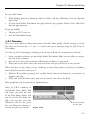
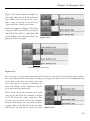
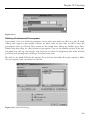
4. Now bring the cursor to the Bin menu and select
AutoSync. You’ll see that the abbreviation “Au” appear
on the Timeline command button area (or F6 on the
keyboard).
5. Close the Command Palette.
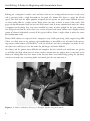
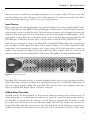
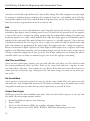
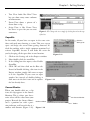
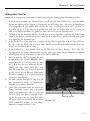
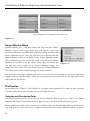
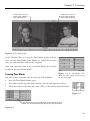
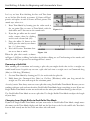
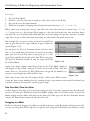
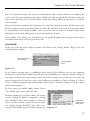
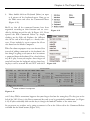
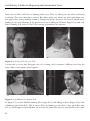
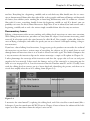
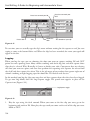
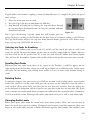
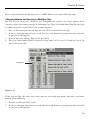
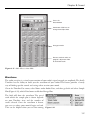
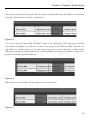
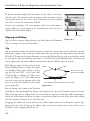
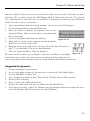
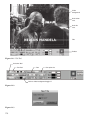
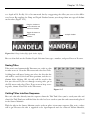
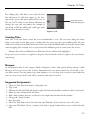
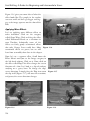
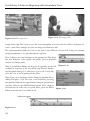
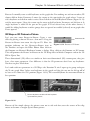
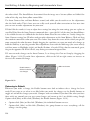
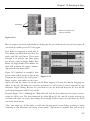
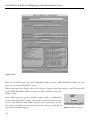
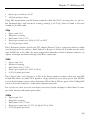
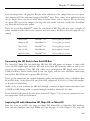
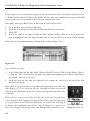
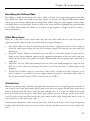
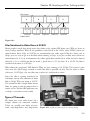
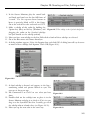
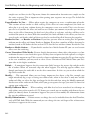
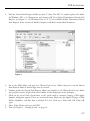
Figure 20.12
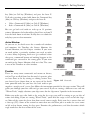
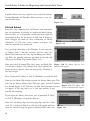
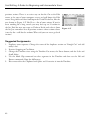
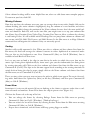
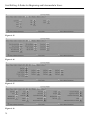
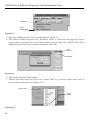
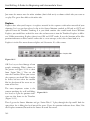
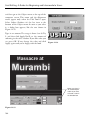
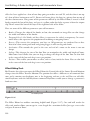
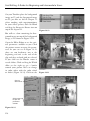
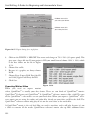
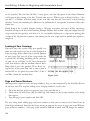
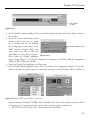
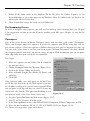
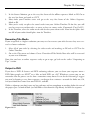
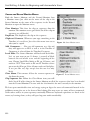
Now, after Shift-clicking on the two subclips, as explained
in step 10 on page 325, just press the Au button and the AutoSync
tool will appear.
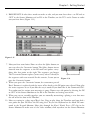
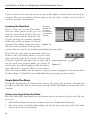
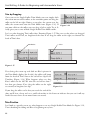
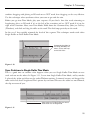
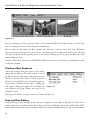
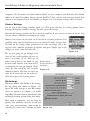
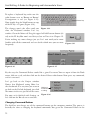
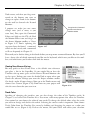
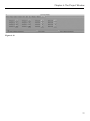
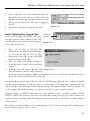
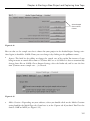
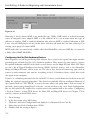
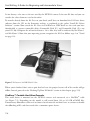
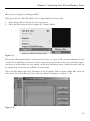
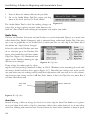
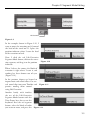
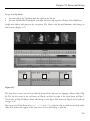
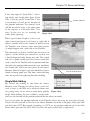
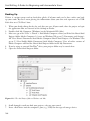
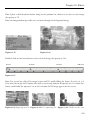
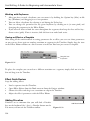
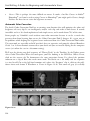
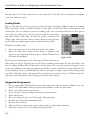
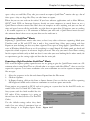
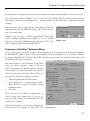
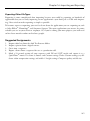
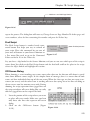
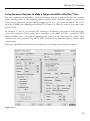
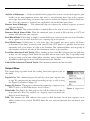
When you’re finished synching, close the Synched subclips bin—
you’re through with it—and then double-click the Synched Takes
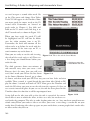
bin icon in the Project window; it will open in the SuperBin area
326
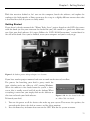
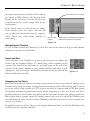
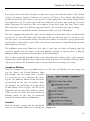
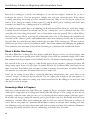
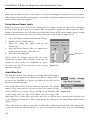
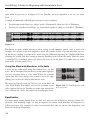
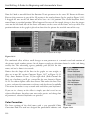
Figure 20.13