1
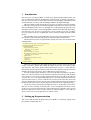
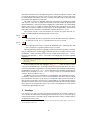
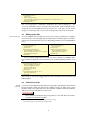
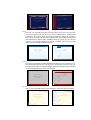
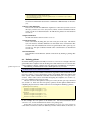
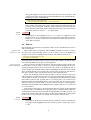
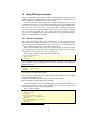
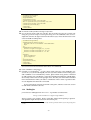
We finish with an example of the syntax that is possible with \item and \onslide.
Remember that these commands take a comma separated list for the 〈overlays〉 specification and that each element can used the syntax as explained in table 1. The various
variations are demonstrated in the example below.
\begin{slide}{Lists}
\onslide{10}{on overlay 10 only}\par
\onslide{-5}{on every overlay before and including overlay 5}\par
\onslide{5-}{on every overlay after and including overlay 5}\par
\onslide{2-5}{on overlays 2 through 5, inclusive}\par
\onslide{-3,5-7,9-}{on every overlay except overlays 4 and 8}
\end{slide}
4.5 Relative overlays
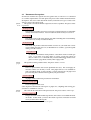
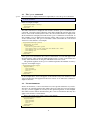
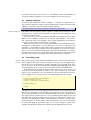
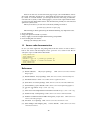
Sometimes it is a pain to keep track of when an item should appear or become active.
You might, for example, just care that some text appears on the overlay after some
other item. This functionality is provided through the use of relative overlays which
should not be used outside list environments that use \item. Let’s consider a simple,
illuminating example.
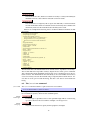
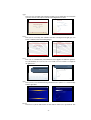
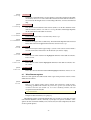
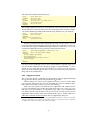
\begin{slide}{Relative overlays}
\begin{itemize}
\item A \pause
\item B \onslide{+1}{(visible 1 overlay after B)}\pause
\item C \onslide{+2-}{(appears 2 overlays after C, visible until the end)}
\pause
\item D \onslide{+1-6}{(appears 1 overlay after D, visible until overlay 6)}
\pause
\item E \pause
\item F \pause
\item G \onslide{+1-+3}{(appears 1 overlay after G for 3 overlays)}\pause
\item H \pause
\item I \pause
\item J \pause
\item K
\End{itemize}
\end{slide}
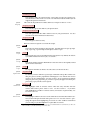
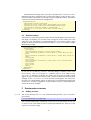
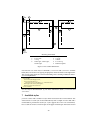
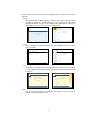
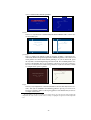
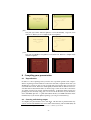
As you can see, we still use \onslide. The only change is with the syntax of the
list of overlays. Now, we can specify a ‘+’ symbol in the list. In its simplest usage,
\onslide{+1} will make text display one overlay after the overlay it would normally
appear on. You can still use the syntax in table 1. These are demonstrated in the above
example. Notice, \onslide{+1-6} means that the text will appear one overlay after
the overlay it would normally appear on and that the text should remain shown until
overlay seven. To make text appear for a range of relative overlays, see the final demonstration in the above example.
5 Presentation structure
5.1 Making sections
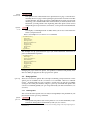
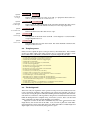
\section
This section describes the \section command which provides a way to structure a
presentation.
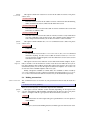
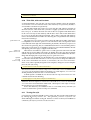
\section[〈options〉]{〈section title〉}
This command will produce a slide with 〈section title〉 on it and will also use this text
to create sections in the table of contents and in the bookmarks list. There are several
〈options〉 to control its output.
14