1
The Insider’s Secrets to Driver Output Preparation- Essential elements to configuring the MPX output software
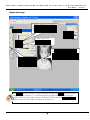
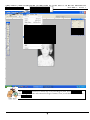
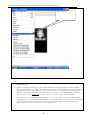
4.Click on Print…
1.
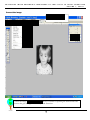
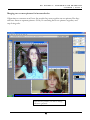
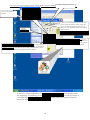
Open Dr. Metaza 2
2.
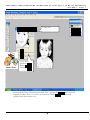
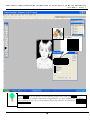
Import your properly edited image, see (Vol. 1 The Insider's Secrets to Image Preparation- Photoshop Image
Enhancing Techniques as they Apply to Metal Engraving) Notice how I am sizing the picture to span only half of
the pendant. We do this to allow space for a next test print, in which case we simply move it down to the lower
half, all the while using the same image. In this way we conserve pendants. Please understand that you must do
your calibrations using the exact image for each test so that you do not introduce any other variables.
3.
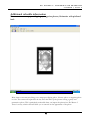
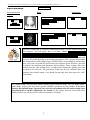
I have found that the natural adhesive on the rubber mat is not strong enough to secure the pendant during the
engraving process; you will need double sided tape. Place a 28 x 50mm pendant on the tape; flatten with your plexi
square. At this point I polish, with some pressure, the top of the blank pendant to secure it to the pad (very
important that it not move, this also serves to remove finger prints).
6