1
CHAPTER 4: OSD MENU
NOTE: The control button described in this section is mainly on the remote control unless
specified otherwise.
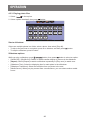
4.1 Change Picture Format
You can change the picture format to suit the video source. Each video source has its available
picture formats.
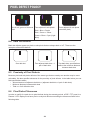
The available picture formats depend on the video source:
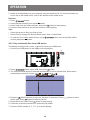
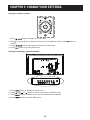
1. Press
button.
button.
2. Press or button to select a picture format, then press
• {Auto zoom}: Enlarge the picture to fill the screen. Recommended for minimal screen
distortion but not for HD or PC.
• {Movie expand 16:9}: Scale 4:3 format to 16:9. Not recommended for HD or PC.
• {Wide screen}: Shows widescreen format content unstretched. Not recommended for HD or
PC.
• {Unscaled}: Provide maximum detail for PC. Only available when PC mode is selected in the
{Picture} menu.
• {4:3}: Display the classic 4:3 format.
•
• {Music}: Ideal settings for listening to music.
• {Game}: Ideal settings for games.
• {News}: Ideal settings for spoken audio, such as the news.
4.2 Play Multimedia Files
You can play videos, photos, and music on your display from:
• Your computer connected through your network.
• A USB device connected to this display.
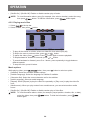
4.2.1 Play files from computer
To play files from computer, you will need:
• A wired network, connected with a Universal Plug and Play (uPnP) router.
• Optional: A LAN cable that connects your display to your network.
• A media server running on your computer.
• Appropriate settings on your computer firewall to allow you to run the media server.
Set up the network
1. Connect your display and the computer to the same network. .
2. Switch on your computer and the router.
NOTE: If the apparatus does not return to DLNA mode due to external electrical disturbances
(e.g. electrostatic discharge), user intervention is required.
Set up media sharing
1. Install a media server on your computer to share media files. These are some media servers:
• For PC: Windows Media Player 11 (or higher) or TVersity
• For Mac: Twonky
23