1
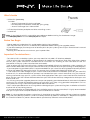
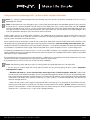
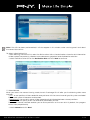
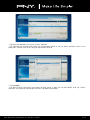
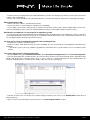
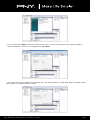
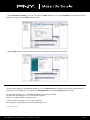
•In the following example :
2. To get started:
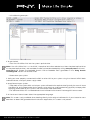
• Insert the SSD Utilities Disk into the system’s optical drive.
Note: If the SSD Utilities Disk is a “mini-DVD”, the optical disk drive selected must be a tray-load optical drive.
If a tray-load optical drive is not available, the file can be downloaded by visiting www.pny.com for US and
www.pny.eu for Europe. The bootable Acronis CDR or Bootable Flash generated in the “Using Acronis
TrueImage HD” section can also be used.
• Power down your system.
3. Verify you have properly connected the PNY or other SSD to your system using the internal SATA III data
cable enclosure., and your power supply cable .
4. Apply Power to your System.
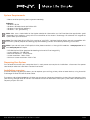
•If required, set the system BIOS so that your system will boot to the optical drive. Typically, the user will have
the option to set the boot order during power up by pressing a designated key (typically escape) after
applying power. Refer to your system’s user manual for more information.
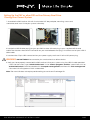
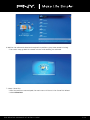
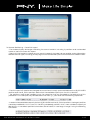
•The Software Utilities Disk is a bootable disk and will boot to the Acronis TrueImage HD home screen.
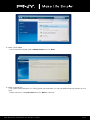
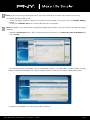
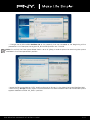
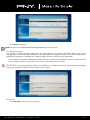
5. At the Acronis Home Screen Select the appropriate language.
Note: This screen is only available when booting directly to the original software disk. If you choose to use a
boot flash or boot CDR generated from the Acronis application, this screen is not present.
PNY DESKTOP UPGRADE KIT INSTALL GUIDE
P.11