1
Using Swinging Bucket Rotors
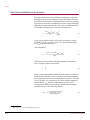
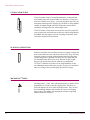
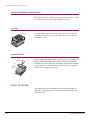
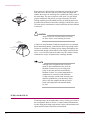
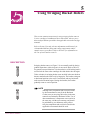
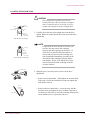
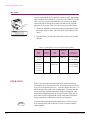
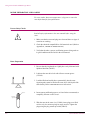
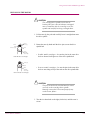
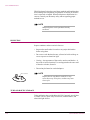
LOADING THE ROTOR YOKE
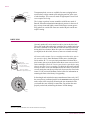
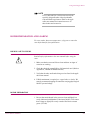
!
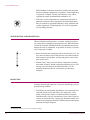
Rotor
Pins (2)
Drive
Hub
Grooves (4)
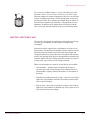
CAUTION
The centrifuge drive spindle can be bent or
broken if the rotor is forced sideways or dropped
onto it. Install the rotor by centering it over the
spindle and carefully lowering it straight down.
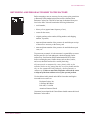
Hub
Drive
Spindle
Assembly
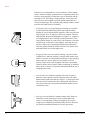
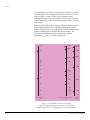
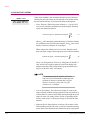
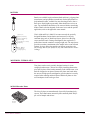
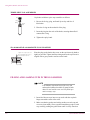
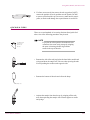
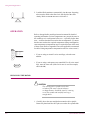
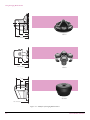
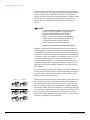
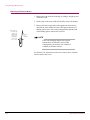
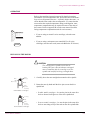
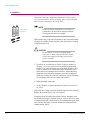
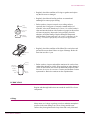
1. Carefully lower the rotor yoke straight down onto the drive
spindle. Rotate it by hand until the drive pins seat on the drive
spindle hub.
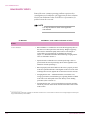
Older Model Centrifuges
➠
Teeth (2)
Hub
Drive
Spindle
Assembly
Newer Model Centrifuges
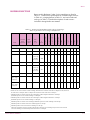
NOTE
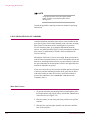
Except for the JS-24.38 and JS-24.15 rotors, you
can leave the rotor yoke in the centrifuge
between runs unless spillage has occurred—in
which case you should remove the buckets or
carriers and yoke and clean the centrifuge and
rotor components immediately, according to the
instructions in the centrifuge and rotor instruction manuals. The JS-24.38 and JS-24.15 rotors
must be removed from the centrifuge to install
or remove buckets.
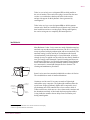
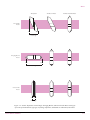
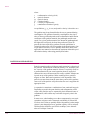
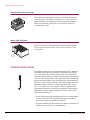
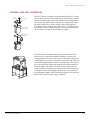
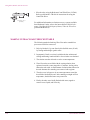
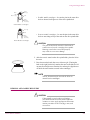
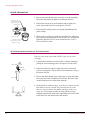
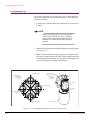
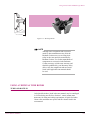
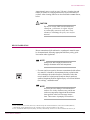
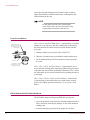
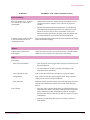
Tie-down Knob
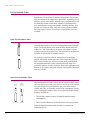
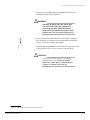
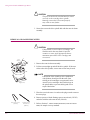
2. When the yoke is correctly seated, secure it to the drive
spindle hub.
• Rotors with tie-down knobs—hand tighten the tie-down knob.
If the rotor is left in the centrifuge between runs, tighten the
knob before each run.
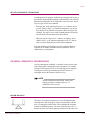
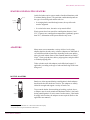
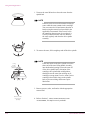
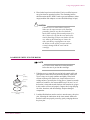
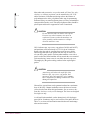
Rotor
Tie-down
Screw
Torque Bar
J Series Rotors and Tubes
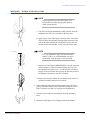
• Rotors without tie-down knobs—secure the rotor with the
tie-down screw, and tighten the screw with the torque bar or
tie-down tool. If the rotor is left in the centrifuge between runs,
ensure that the screw is tight before each run.
5-7