1
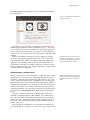
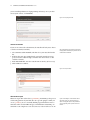
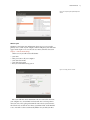
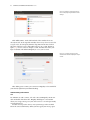
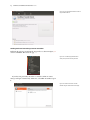
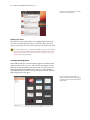
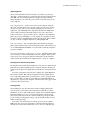
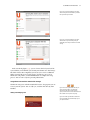
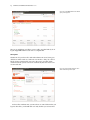
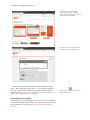
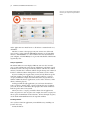
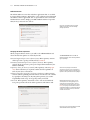
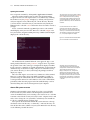
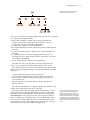
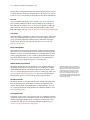
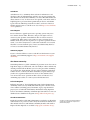
Input e second tab is for configuring audio Input. You will be able to use this section when you have an in-built microphone in your system or if you’ve plugged in an external microphone. You can also add a Bluetooth headset to your input devices which can serve as a microphone. You can increase/decrease and mute/unmute input volume from this tab. If there is more than one input device, you will see them listed in the white box which reads Choose a device for sound input. Sound Effects e third tab is Sound Effects. You can enable, disable, or change the existing sound theme from this section. You can also change the alert sounds for different events. Applications e Applications tab is for changing the volume for running applications. is comes in handy if you have multiple audio applications running, for example, if you have Rhythmbox, Totem Movie Player and a web-based video playing at the same time. In this situation, you will be able to increase/decrease, mute/unmute volume for each application from this tab. You should note that by default in any Ubuntu installation, the input sound is muted. You will have to manually unmute to enable your microphone to record sound or use it during audio/video calls. By default, the volume in Ubuntu is set to maximum during installation. You can add new sound themes by installing them from Software Center (e.g., Ubuntu Studio’s GNOME audio theme.) You will get the installed sound themes from the drop-down menu. You can also enable window and button sounds. The Ubuntu Design Team have made a few changes to the volume icon post Ubuntu 11.10. More functionality e icon can control various aspects of the system, application volume and music players like Rhythmbox, Banshee, Clementine and Spotify. e volume indicator icon can now be easily referred to as the sound menu, given the diverse functionality of the icon. Media controls available include play/pause, previous track, and next track. You can also switch between different playlists from the Choose Playlist option. ere is also a seek bar which you can manually drag to skip some portions of any song. If the current playing song has album art, it will show up beside the name of the current track, otherwise you will see only the details of the song. It displays the track name, the artist name and the album name of the current track. You can start and control the default music player, Rhythmbox, by simply left clicking on the sound menu and selecting Rhythmbox from the list. Clicking the play button also starts the player. Using a webcam Webcams oen come built into laptops and netbooks. Some desktops, such as Apple iMacs, have webcams built into their displays. If you purchase a webcam because your computer doesn’t have its own, it will most likely have a connection. To use a webcam, plug it into any empty port of your desktop. Almost all new webcams are detected by Ubuntu automatically. You can configure webcams for individual applications such as Skype and Empathy from the application’s setup menu. For webcams which do not work right away with Ubuntu, visit https://wiki.ubuntu.com/Webcam for help. Scanning text and images Scanning a document or an image is very simple in Ubuntu. Scanning is handled by the application Simple Scan. Most of the time, Ubuntu will simply detect your scanner and you should just be able to use it. To scan a document, follow these steps: . Place what you want to scan on the scanner. . Click to open the Dash and enter scan. There are several applications which are useful if you have a webcam. Cheese can capture pictures with your webcam and VLC media player can capture video from your webcam. You can install these from the Ubuntu Software Center.