1
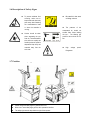
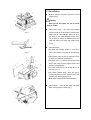
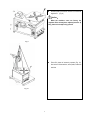
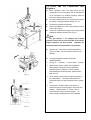
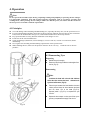
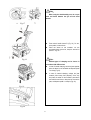
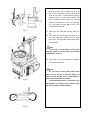
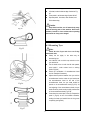
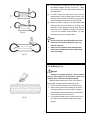
10 cm If there is tube in the tyre, remove it. Lift wheel, make the bottom edge of wheel as Fig. 25. Press pedal L until bottom edge of wheel fall off. Depress pedal I, tilt column, take off wheel, and finish demounting. Caution: Keep hands and the rest of human body away from the moving parts of the machine. Never wear necklace, bracelet or loose clothes when operating the machine as it may cause danger! Fig.24 4.3 Mounting Tyre Fig.25 Note: Check the size of tyre and rim to see if they match each other Clamp the rim tightly in the same way as demounting tyre. Use lubricant such as thick soap solution on the tyre and the rim. Put the bead on the rim with the left side upward, press pedal I, make column back to working position (Fig.26) Check the coordination of mount/demount head and rim. Readjust if necessary. Adjust relative position between the tyre and the mount/demount head to make the tyre bead cross the mount/demount head. At the end of the mount/demount head, the tyre bead should be placed on the mount/demount head (Fig.27-A). At the beginning of the mount/demount head, the tyre bead should be placed under the ball protuberance of the mount/demount head (Fig.27-B) Press down the central part of the tyre. Depress the pedal L (Fig.22) to turn the turntable clockwise, making the lower tyre bead fall into the rim groove completely (see fig.28-A). Fig.26 Fig.27 14