1
BASIC Line
7.3.
Connecting the Heated Display Case
Electrical Connection
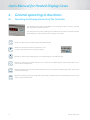
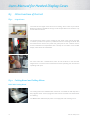
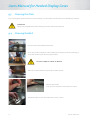
Units for a rated voltage of 230V and 50 Hz (single-phase) are delivered by default with a plug connector. The
400 V, 50 Hz (three-phase) units are delivered without a plug connector and may only be connected by a qualified
specialist.
Permanent availability of 16A of current per phase must be ensured.
Any deficiencies in the power supply must be resolved before connecting the units.
The manufacturer of the units is not responsible for damage resulting from improper connection.
It is not permitted to connect to any voltage, type of current or frequency other than that which is
given on the rating plate.
We would like to point out that each individual heated display case must be connected to a separate electric
circuit.
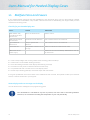
Fuse protection:
Units with 230 V, 50 Hz (single-phase): 1 x 16 A
Units with 400 V, 50 Hz (three-phase): 3 x 16 A
For units with 400 V, a three-pin main switch must be provided by the customers without fail.
Not included in the scope of delivery.
Optional permanent water connection for BASIC Plus
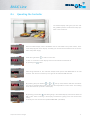
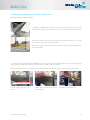
BASIC Plus models can be operated optionally with a permanent water connection, and would then need a professional connection to the water line provided by the customer.
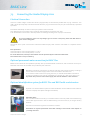
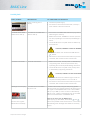
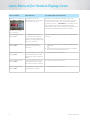
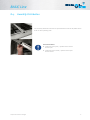
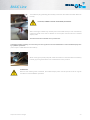
Besides the electrical connection, the display case also has a black coupling including a
check valve for the water supply that is to be connected to the water line.
The customer must screw the coupling onto a 3/4“ outside thread water connection.
It must be possible to shut it off for maintenance purposes (e.g. ball valve, and so on).
Important: The pressure of the water supply line must be between 3 bar and 6 bar.
Optional decalcification system for BASIC Plus and BASIS with a substructure
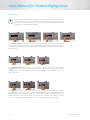
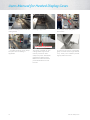
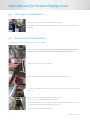
Optional: The decalcification system for water treatment can be installed in the substructure of the display case (filter cartridges from Brita).
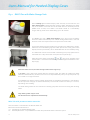
Initial filter filling:
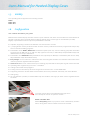
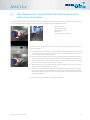
Put a container under the hose (C) on the filter head to catch any water. Press the flushing
valve button (D) and hold it until the water flowing out of the hose (C) no longer has any
bubbles.
D
C
Also see the enclosed original documents from „Brita“.
Information on regular replacement of the filter cartridge can be found in the chapter on
„Cleaning and Care“.
Subject to technical changes
9