1
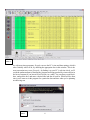
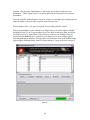
Plate 13
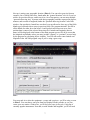
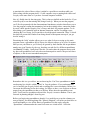
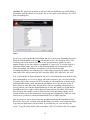
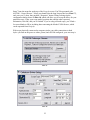
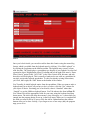
will appear briefly, and you’ll be returned to your original spreadsheet, which will appear
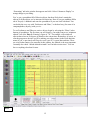
unchanged except for an “X” that’s been placed in M7’s “pln” column. To see your Plan,
you must click “Show Plan,” the button directly beneath “Apply Filters” at the bottom
left of the screen. When you do that, the original spreadsheet will be replaced with one
containing a single object, M7. This is your plan, which can be sorted, saved and printed.
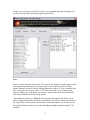
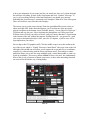
Once you’ve looked at the plan, you’ll probably want to go back to your original
spreadsheet to choose more objects for inclusion. Here we run into another of the
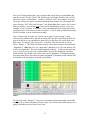
program’s minor peculiarities. The Observing Plan now occupies the Spreadsheet 1 tab.
To get the original spreadsheet back, you’ll need to either apply your filters again with a
click of the button or, if you’re working with the Messier list, click “What’s Up Messier”
again.
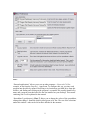
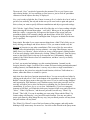
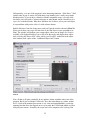
You can avoid this need to restore your spreadsheet by placing your Plan on one of the
other tabs, 2, 3, or 4 if you’ve got your working spreadsheet in tab 1, as you normally will
have. If you place the plan in one of the other tabs, you’ll be able to toggle back and forth
between it and tab 1 without clicking filters or anything else to restore the spreadsheet.
Oddly, though, if you do things this way, the program does not place an X in the pln
17