1
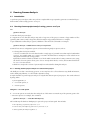
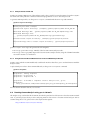
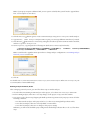
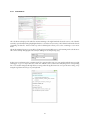
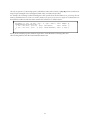
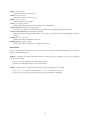
Order Number: The order number provided in the Goanna purchase confirmation email.
Challenge: The challenge key of the computer you wish to activate the license for.
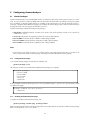
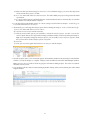
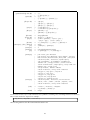
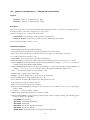
2. Read the license agreement.
3. Check “I accept the License Conditions”, and click “Activate” to accept the license agreement and activate
your license.
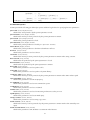
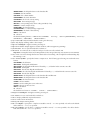
4. The resulting license file (called goanna_license.lic) will be sent to the email address you provided.
You will also be taken to a page where you can download the license file by clicking on Download your license.
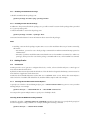
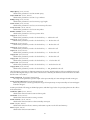
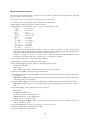
5. Save the goanna_license.lic file to the following location:
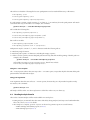
Linux $HOME (Home directory of the user running Goanna), or /etc/goanna
Windows (XP and Server 2003) C:\Documents and Settings\<username>\Local Settings\Application
Data\RedLizards\Goanna Central
Windows (Vista, Server 2008 and later) C:\Users\<username>\AppData\Local\RedLizards\Goanna
Central
(where <username> is the name of the user account who have installed Goanna Central; usually it is
your Windows user name).
2.4.2
Using Network (Floating) License
If you have obtained network (floating) licenses, then you will need to perform the following steps to set up Goanna
to use your license:
1. Set up a license server somewhere on your network with the license file supplied.
The license server for Goanna is shipped in a separate installation package. Contact your distributor to obtain
the installer.
For instructions on how to set up the license server, please refer to the separate “License Server User Guide”.
2. Always use --license-server option when using Goanna.
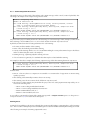
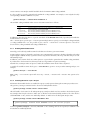
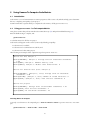
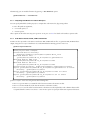
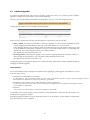
Once the license server is up and running, to use the license server, pass the --license-server=<server> option to goanna-trace, goanna-analyse, goanna-metrics and goannacc utilities when capturing build
information, running Goanna analysis, and computing code metrics.
Borrowing a Network (Floating) license
When you run the Goanna analysis with a network (floating) license, you can optionally specify a borrow duration
(in the range of 1 to 24 hours). This is enabled by using the --license-borrow-hours=<hours> option in
combination with the --license-server option, and will force Goanna to reserve a single license seat for you
for this amount of time. In addition this technique can be used to improve license validation time, and will allow
you to perform Goanna analysis while disconnected from the license server.
2.5
Next Steps
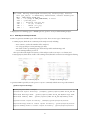
Performing analysis on your C/C++ project with Goanna Central is a three-step process:
1. Setting up your C/C++ project, and running a full build on the project using Goanna build integration utility
to capture settings of your build.
2. Using this information from full build to run analysis.
3. Reading and interacting with the analysis results.
The rest of this documentation explains this process in detail:
1. The next section, section 3, explains how to set up your C/C++ projects to be used with Goanna, and to capture
settings of your build.
2. The section 4 explains how to use this captured settings to run analysis, and to read the analysis results.
14