1
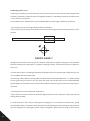
together the X and Y axes.
This procedure requires a certain dexterity and experience on machine: If you’re not sure about it we
suggest you avoid it.
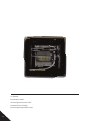
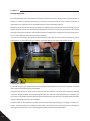
Prepare menu, select “Auto Home”; Now let us relieve the bugle that screw the strap on the left shoulder of the machine; at this point we slide a single tooth belt over his shoulder forward or backwards
to correct the detected square; ritensioniamo the belt and repeat the test print.
PONTE Y FUORI SQUADRA
Putting in tension the extruder’s rubber bands
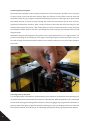
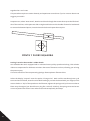
Your Sharebot Kiw-3D is equipped with a cushioned versus pulley sprocket wire drag. This solution
allows to compensate for thickness variations that some filaments can have, allowing you to bring
the press anyway.
The correct tension of the compensating Springs allows optimum filament drive.
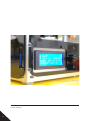
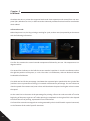
Select the display “Prepare” menu the option “Change wire”. Wait until the machine ejector cycle
terms and once finished, insert the wire. While loading try to lock the thread with your fingers; If this
were to lead to a “slip” of the sprocket on the filament, tighten the springs until you have an outlet to
blow away the engine (you should hear a ping like a tak tak). Similarly, the springs must not be too
narrow to protect the motor is too under stress and consequently lose steps.
30