1
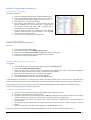
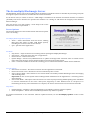
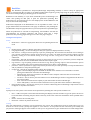
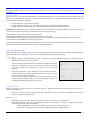
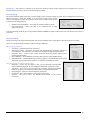
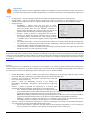
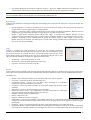
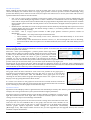
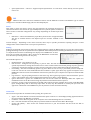
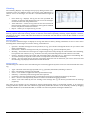
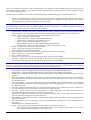
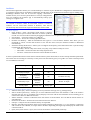
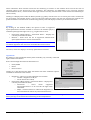
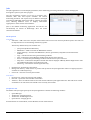
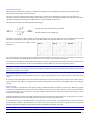
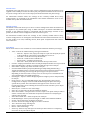
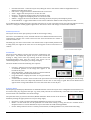
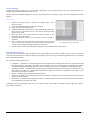
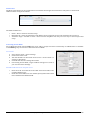
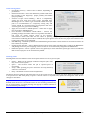
The top section of the display area shows: •
•
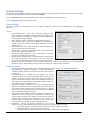
SoftProof – The currently selected Default Press or Default Camera configuration. Calcheck Chart – The Calcheck Chart assigned to the above configuration. The remainder of the display area shows the current Calcheck status of each connected monitor. Information includes: •
•
•
•
•
•
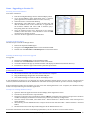
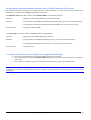
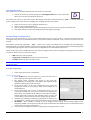
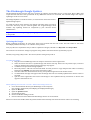
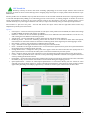
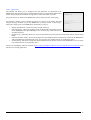
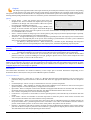
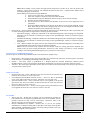
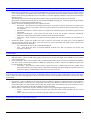
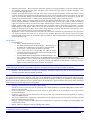
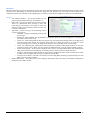
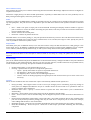
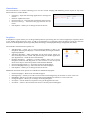
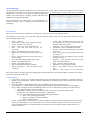
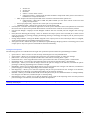
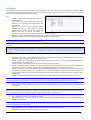
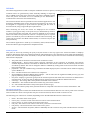
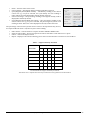
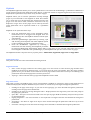
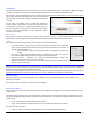
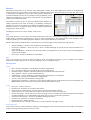
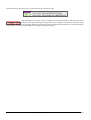
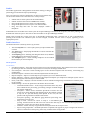
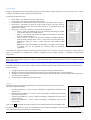
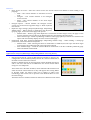
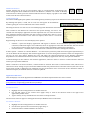
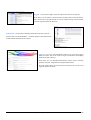
Process Colour/Gray/Paper delta values Average/maximum/standard deviation delta values Display name (top left) Timestamp of the last Calcheck (top right) Chart and Instrument used (bottom left) Overall Calcheck score (bottom left) Note: In cases where multiple areas of a screen have been calchecked, the summary will display the worst results from across all calchecked areas. Clicking on a Display name under the Calcheck header (e.g., iMac) will allow the user to perform a Calcheck on the chosen monitor. The main part of the display area (white box) will show the detail or summary of the Calcheck as it is performed. The top section above the main area has the following options: •
•
•
•
•
•
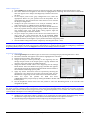
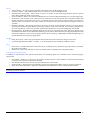
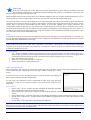
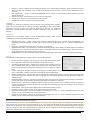
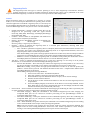
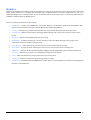
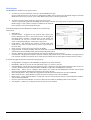
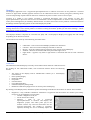
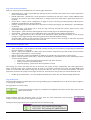
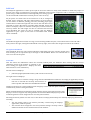
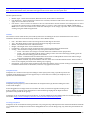
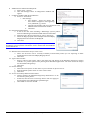
Δ All – Shows all of the Δ results measured, as defined in the Calcheck Chart. Δe – Shows all of the Δe results only. The Δe standard used (DeltaE/CIE94/CIE2000) is selected in the Calcheck Chart (see Workbench > Calcheck Chart for details). CIE2000 is a recommended standard to use for display verification. ΔH – Shows all of the ΔH results only. ΔC – Shows all of the ΔC results only. Summary button – Shows Calcheck summary results. Detail button – Shows results for each measured patch of the Calcheck Chart. The lower section of the main display area contains the following: •
•
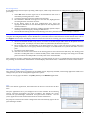
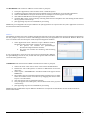
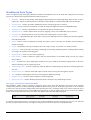
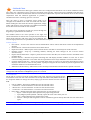
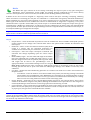
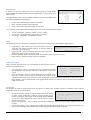
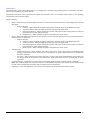
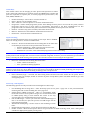
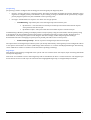
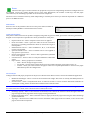
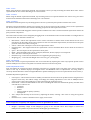
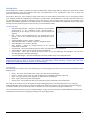
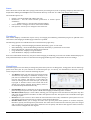
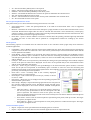
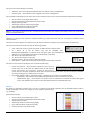
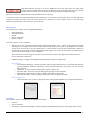
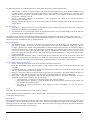
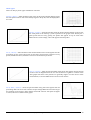
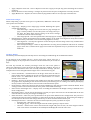
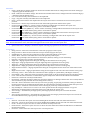
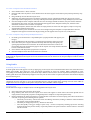
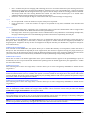
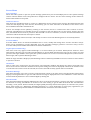
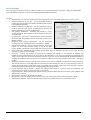
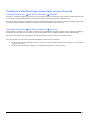
Screen Area buttons – These buttons enable the user to look at results from one of the nine (9) defined areas of the monitor screen. The buttons are grayed out (cannot be selected) if a screen area has not been calchecked. Areas that have been checked will enable the button and show whether the area passed (green) or failed (red) a Calcheck. Instrument (offline/online) / Instrument Name – Displays the currently activated instrument. o Instrument – Select which supported Spectrophotometer is to be used for the Calcheck. o Measurement Type – Select which area of the screen to Calcheck or Calcheck the whole (3x3 grid) screen. The middle centre of the screen if the default option for standard Calchecks. History By clicking on the History header, users can see at a glance the Calcheck summaries for all attached monitors. This is useful for keeping track of any changes in your monitor’s performance (i.e., drifting). Information includes: •
•
•
•
•
•
Process Colour/Gray/Paper delta values Average/maximum/standard deviation delta values Display name (top left) Timestamp of the last Calcheck (top right) Chart and Instrument used (bottom left) Overall Calcheck score (bottom left) Serendipity Blackmagic User Manual – Version 5.3 90